The asymmetrical pixie cut is a chic and edgy hairstyle that can truly transform your look. Perfecting it at home may seem daunting, but with the right tips, you can achieve a salon-quality finish. Let’s delve into the essentials for mastering this stylish haircut.
1. Understanding the Asymmetrical Pixie Cut
Before you begin, it’s essential to understand what makes the asymmetrical pixie cut stand out. It’s all about that uneven balance, where one side is shorter than the other, giving you a bold and stylish edge.
The asymmetrical pixie is characterized by its deliberate unevenness, creating a striking contrast that frames the face beautifully. This variance offers versatility, allowing you to experiment with different styles and lengths. It’s a fantastic way to emphasize your best features, making it perfect for those seeking a unique appearance.
This hairstyle isn’t just a cut—it’s a statement of individuality and creativity. Understanding the nuances of its construction helps you tailor the style to suit your personality perfectly, making every asymmetrical pixie cut distinctively yours. Such a transformative cut can elevate your confidence, highlighting your commitment to style.
2. Choosing the Right Tools
Having high-quality tools is half the battle won. Invest in a sharp pair of scissors, a good comb, and a set of clippers to get precise lines and layers in your cut.
Selecting the right tools can dictate the success of your DIY pixie cut. Sharp scissors prevent split ends, while a versatile comb aids in managing different hair textures. Clippers are essential for clean lines at the nape and around the ears, finalizing that professional look you aim to achieve.
3. Starting with Clean, Dry Hair
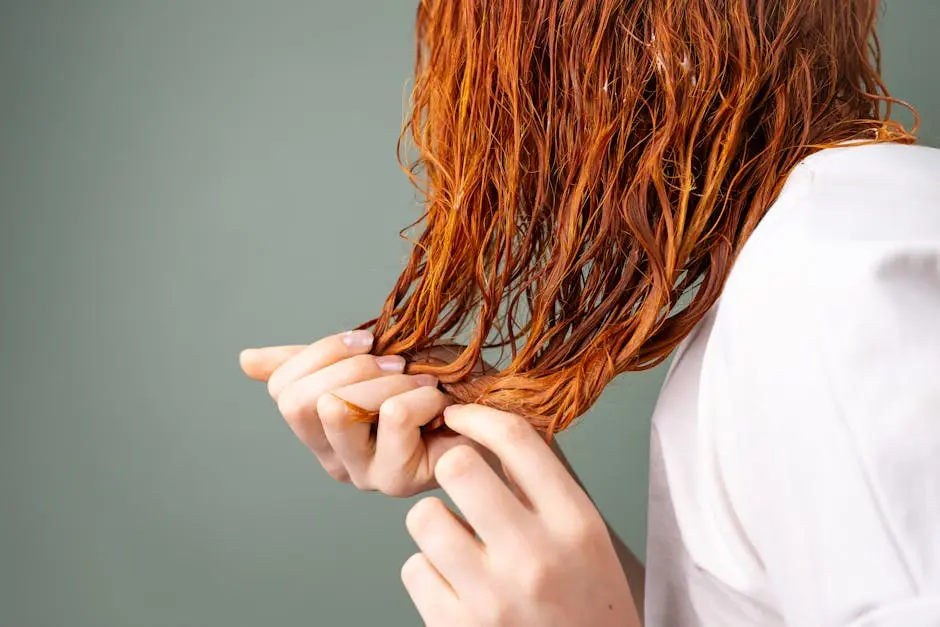
Ensure your hair is clean and completely dry before cutting. Wet hair can look longer, leading to unintended shorter cuts once dry.
Clean, dry hair provides an accurate canvas for cutting, allowing you to see the natural lay and length of your hair. This visibility ensures you make precise adjustments that enhance the asymmetrical style without surprise shrinkage once dry.
4. Sectioning Your Hair Effectively
Proper sectioning allows for better control and precision. Use clips to hold back sections you’re not working on to make the process easier.
Taking time to section your hair properly means each cut is deliberate and accurate. Use clips to manage stray strands and maintain focus on specific sections. This provides better visibility and enables you to notice details that ensure a balanced yet asymmetrical look.
5. Mastering the Cutting Technique
Start cutting small sections from the ends, working towards the scalp with confidence but caution. Remember, you can always take more off, but you can’t put it back.
Confidence in your technique is key, as is cautious precision. Begin with minor trims and reassess with each cut, ensuring you maintain the asymmetrical balance. This controlled approach prevents mistakes and allows you to visualize the evolving style throughout the process.
6. Emphasizing the Asymmetrical Line
The key to an effective asymmetrical pixie is highlighting the uneven parts. Use a razor for soft edges on one side and scissors for crisp cuts on the other.
Achieving the right contrast is what sets your asymmetrical pixie apart. Consider incorporating razoring techniques for feathered finishes on one side, and rely on scissors for precision on the other. This subtle juxtaposition adds drama and visual interest, making your pixie cut truly distinctive.
7. Texturizing for a Natural Look
Add texture by using thinning shears. This step helps to create dimension and avoids a blunt, wig-like appearance.
Adding texture is the secret to a lively and bouncy finish. Texturizing shears can help transform thicker sections into lighter, more natural-looking strands, reducing bulk and ensuring movement across your pixie cut. It’s a crucial step in achieving an effortlessly natural appearance.
8. Finishing Touches and Styling
Once satisfied with the cut, style your pixie with a bit of product to give it volume and definition. This makes your asymmetrical pixie truly unique.
Consider using lightweight styling products that enhance the natural layers and movement of your pixie. A volumizing mousse or a defining wax can provide the necessary lift and hold without adding unnecessary weight, allowing your cut to shine in its asymmetrical glory.

