Curly Hair Tutorials: Define, Style & Love Your Curls
RL
RaDona Ludlow, Licensed Cosmetologist
All curl typesGirls to women 60+Heat-free & styled options
Curly hair is the most under-served hair type in most salons — and the most mishandled at home. Brushed when it should be finger-detangled. Diffused on the wrong heat setting. Loaded with the wrong products in the wrong order. RaDona has been working with curly clients of all ages and all curl patterns for 25 years, and the same fundamental truths apply every time: curly hair needs moisture, needs product applied wet, needs minimal heat, and desperately needs to be left alone while it dries. This guide covers all of it — from curl type identification through the complete wash-and-go, diffusing, the curly pixie, and every styling option in between.
The goal: defined, frizz-free curls with real bounce
Achievable on all curl patterns with the right technique
Curly Pixie — Women 60+
RaDona's salon transformation
Curly Updo — Effortless Bun
Curls make every bun look full
Watch: RaDona's Curly Hair Tutorials
Three videos from the channel covering curly hair at every stage — the technique tutorial for natural curl and wave, the curly pixie for mature women, and the bun method that works best on curly hair. Watch the primary video first for the full curly hair technique from wash through styling.
PRIMARY
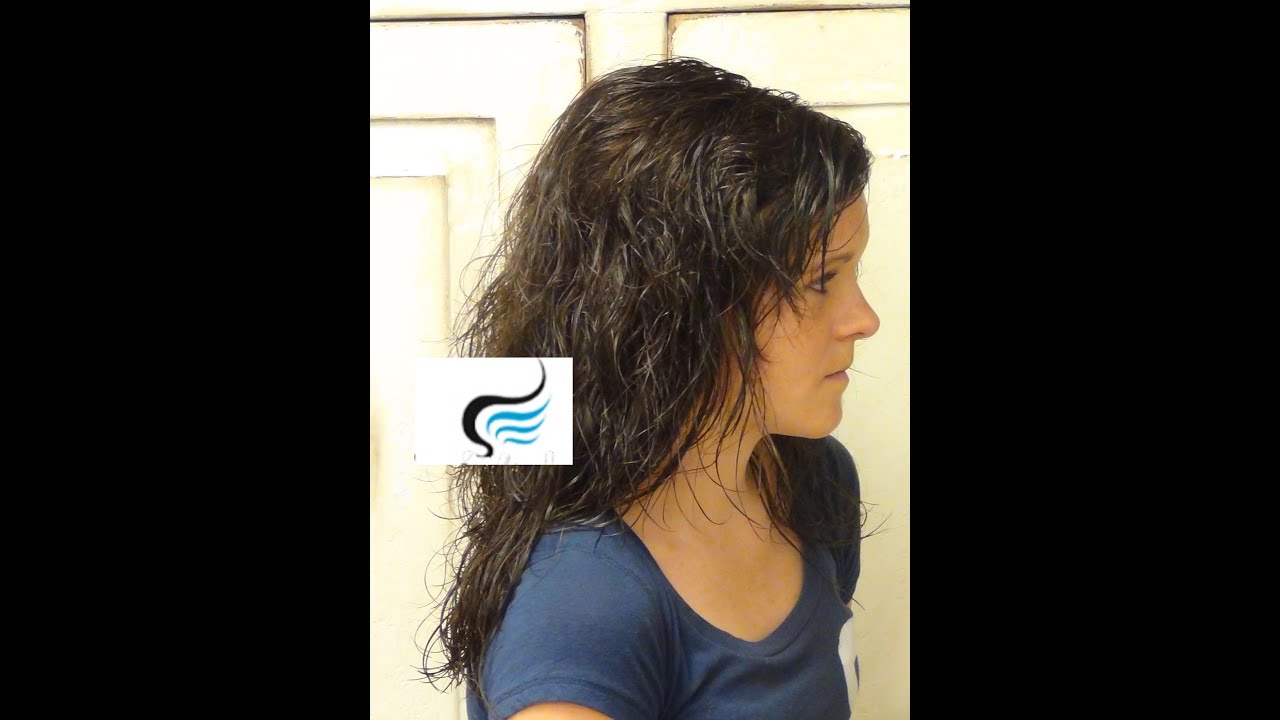
Curly & Wavy Hair Tutorial
RaDona works with natural curly and wavy hair — products, diffusing, and the technique that unlocks definition without frizz. The core tutorial for this page.
OVER 60
Curly Pixie — Women 60+
The curly pixie at short length — RaDona's technique for women over 60 with natural wave or curl. Full guide at the Curly Pixie page.
APPLICATION
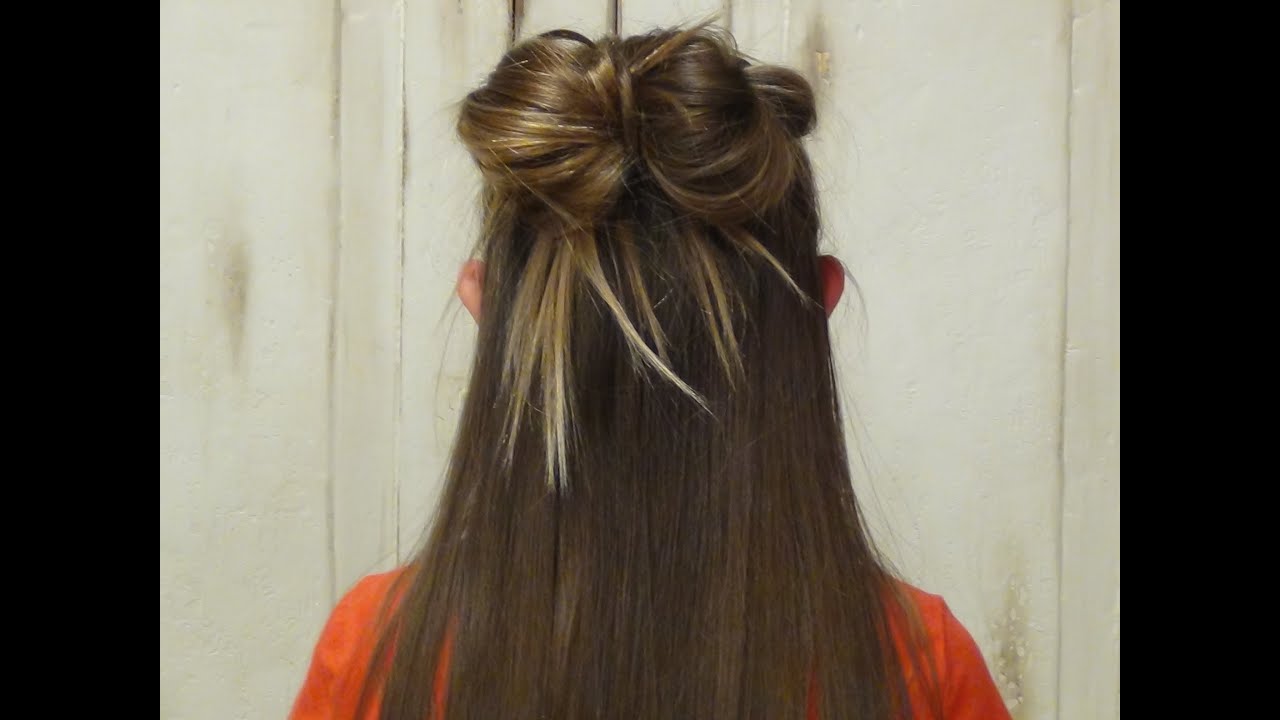
Curly Hair Updo — Messy Bun
Curly hair makes the best bun — the natural texture creates volume and dimension no straight-hair bun can match. Full technique at the Messy Bun Tutorial.
Curl type is the single most important factor in choosing products and techniques. The wrong product for your curl pattern causes frizz, flatness, or crunch — no matter how good your technique is. Here's the complete chart used by professional stylists.
〰️
2A
Loose Wave
A slight S-bend, very fine and delicate. Lies mostly flat. Goes frizzy with too much product.
〜
2B
Defined Wave
S-shaped waves from mid-length down, straighter at the roots. Most common type asking for "beach waves."
🌊
2C
Strong Wave
Thick, defined waves that start near the root. Prone to frizz in humidity. Needs medium-hold products.
🔄
3A
Loose Curl
Wide, springy loops — roughly the circumference of a wine cork. Defined and bouncy when correctly moisturised.
🌀
3B
Springy Curl
Tight corkscrew curls — roughly the width of a marker. The "classic" curl most people picture. Very prone to shrinkage.
🌀
3C
Tight Corkscrew
Very dense, tight curls packed closely together. Shrinks dramatically — looks much shorter dry than wet. Needs rich moisture.
⭕
4A
Coily Curl
Defined coils the width of a knitting needle. Retains moisture well but needs sealing products to lock it in.
⭕
4B / 4C
Tight Coil / Zig-Zag
Z-shaped pattern with minimal definition without products. Most shrinkage — can be 75% shorter dry. Needs the most moisture and the most leave-in.
💜 RaDona's Type Test
Not sure of your type? Run this test wet: wash your hair, apply only water, and do not touch it while it dries. Whatever shape forms is your true curl pattern — free from product influence. If it forms S-shapes, you're a type 2. Corkscrews: type 3. Tight coils with less definition: type 4. Most people are a mix of two adjacent types.
The 5 Rules of Curly Hair — Break Any of These and the Curl Breaks
💧
Rule 1 — Apply products to soaking wet hair only
Curly hair products — leave-in conditioner, curl cream, gel — must go on immediately after washing while the hair is still dripping. Waiting until the hair starts to dry causes frizz and uneven distribution. Wet application is not optional. It is the mechanism by which every curly product works.
🚿
Rule 2 — Never brush dry curly hair
A brush on dry curly hair shatters the curl pattern into individual strands — producing exactly the frizz puff that curly-haired people dread. Detangle only on wet, conditioned hair, and only with a wide-tooth comb or fingers. Once dry, hands only — never a brush or fine-tooth comb.
🔥
Rule 3 — Use low heat and a diffuser
High direct heat disrupts the curl pattern and causes frizz. A diffuser disperses airflow across a large area simultaneously — it dries the curl in its natural coiled position rather than blasting it open. Low-to-medium heat setting, diffuser attachment, scrunch upward. This is how salon-quality curl definition is produced at home.
🙅
Rule 4 — Do not touch the hair while it dries
Every time you touch, scrunch, separate, or re-position curls while they are still wet, you disrupt the curl formation and introduce frizz. Apply products, style the sections you need to style, diffuse, and then leave it alone until completely dry. The urge to keep touching is the single biggest obstacle to good curls.
💦
Rule 5 — Moisture first, hold second — always in that order
The product order is: leave-in conditioner first (moisture — seals the hair shaft and prevents frizz), curl cream second (moisture + light definition), gel or mousse last (hold — locks the curl in place). Applying hold products before moisture traps dryness inside the hair and creates crunch that never softens. Moisture always goes closest to the hair; hold always goes outermost.
The Wash-and-Go: RaDona's Step-by-Step
The wash-and-go is the foundation of all curly styling — and also the most misunderstood. When it's done correctly it produces the most natural, defined, frizz-free result with the least effort. Every step below matters. None can be skipped.
1
Wash with a sulphate-free shampoo
Sulphates strip the moisture curly hair needs to define
Sulphates (SLS, SLES) are the harsh detergents in most mainstream shampoos. They clean effectively but strip the natural oils that curly hair depends on for elasticity and definition. Use a sulphate-free or low-poo shampoo — it cleans without stripping. Massage only at the scalp; the suds rinse through the lengths on their own.
2
Deep condition — every single wash
Curly hair needs moisture replaced at every wash, not occasionally
Apply a rich conditioner from mid-length to ends. Detangle with a wide-tooth comb while the conditioner is in — the slip allows the comb to move through curls without breakage. Leave on for 3–5 minutes minimum. Rinse with cool water to seal the cuticle and boost shine. Skip the conditioner and the curl definition will be compromised no matter what styling products follow.
3
Plop with a microfibre towel — never a regular towel
Cotton terry cloth causes frizz; microfibre absorbs without disrupting
Regular cotton towels have a looped surface that roughens the hair cuticle and shatters curl clumps into frizz. A microfibre towel (or an old cotton T-shirt) absorbs water without friction. Flip your hair forward, lay the towel flat, lower your hair onto it, wrap upward and secure on top of your head. Leave 10–20 minutes. Do not rub.
4
Apply leave-in, curl cream, and gel — in that order, on soaking wet hair
The L.O.C. method — Liquid, Oil/Cream, Gel
After plopping, hair should still be very damp. Apply a leave-in conditioner (liquid layer) and rake through with fingers. Follow with a curl-defining cream (cream layer), scrunching upward to encourage the curl to form. Finish with a light-hold gel (the cast layer) — scrunched upward. The cast is how the curl is preserved while drying; it will feel crunchy and stiff until it's fully dry, then you scrunch it soft. This is correct — do not panic.
5
Diffuse on low heat — scrunching upward, not pushing down
The motion matters as much as the tool
Attach the diffuser to your dryer. Tip your head to one side and press the diffuser bowl up toward the scalp — letting the curls pool into the bowl — then turn the dryer on. Move the diffuser in small, circular, upward-pressing motions. Never press down (collapses curls) and never shake the dryer (creates frizz). Work in sections from the nape forward. Stop when 80% dry and let the rest air-dry — over-diffusing causes frizz. Total diffuse time for medium-length curly hair: 12–18 minutes.
6
Scrunch out the crunch — only when completely dry
Patience here is the difference between good curls and great curls
Wait until the hair is 100% dry. Then scrunch firmly upward through the sections — the gel cast will break apart under your hands, releasing soft, defined, frizz-free curls underneath. This is called "scrunching out the crunch" (SOTC). If done while still damp, the curl separates before it's fully set and the definition collapses. Two drops of finishing oil pressed through after scrunching adds shine without disrupting the curl pattern.
Products & Technique by Curl Type
Curl type
Shampoo / wash
Key product
Hold level
Drying method
Biggest mistake
2A / 2B Wave
Low-poo every 4–5 days
Lightweight mousse only — heavy cream flattens
Light
Diffuse or air-dry; do not scrunch aggressively
Too much product — waves disappear under weight
2C Strong Wave
Sulphate-free 3x/week
Light curl cream + mousse
Light-medium
Diffuse on low
Using too little gel — waves need hold to stay defined in humidity
3A Loose Curl
Sulphate-free 2–3x/week
Curl cream + light gel
Medium
Diffuse 60%, air-dry finish
Brushing when dry — destroys curl clumps into frizz immediately
3B Springy Curl
Sulphate-free 2x/week; co-wash optional
Rich curl cream + medium gel
Medium-strong
Diffuse fully on low heat
Not enough moisture — curls go frizzy not fluffy
3C Tight Corkscrew
Sulphate-free 1–2x/week; co-wash between
Rich leave-in + cream + strong gel
Strong
Diffuse on low, extend to air-dry
Skipping the leave-in — gel on dry hair = crunchy not defined
4A / 4B / 4C Coil
Co-wash weekly; clarify monthly
Heavy cream + castor oil + strong hold gel
Strong + seal
Mostly air-dry; diffuse to finish
Touching while wet — any disruption = frizz on tight coils
Curly Hair for Girls — What Parents Need to Know
Children's curly hair is especially fragile — the curl pattern is still establishing and the hair strands are finer than adult hair. The same rules apply, but more gently, and with one important addition: the detangling process needs to be made as painless and fast as possible or the child will dread wash days and the battle begins.
👧
Detangling — make it gentle
Always detangle in sections, from ends upward, with a wide-tooth comb and conditioner still in. Section-and-hold the hair above where you're combing so you're not pulling from the root. A detangling spray applied first makes this process 60% easier and eliminates most of the tears.
🌀
Protect curls at night
Cotton pillowcases create friction that shatters curl clumps overnight. A satin or silk pillowcase (or a satin bonnet for young children) preserves the curl pattern. A loose pineapple high ponytail secured with a soft scrunchie also protects length-length curls overnight without disturbing the pattern.
✂️
Curly haircuts — cut dry
Curly hair should be cut dry — or at minimum in its natural state after washing and diffusing. Cutting wet causes the stylist to see a completely different length than the finished dry curl produces. A good curly haircut follows the natural curl pattern rather than fighting it. Ask for a "curl-by-curl" cut.
For Women 60+
The Curly Pixie: Wash, Diffuse, Done
Natural wave or curl at short pixie length is a revelation. The weight that pulls curl down at longer lengths is gone — what remains is a springy, lively texture that looks intentional, modern, and completely effortless. Wash, scrunch in mousse, diffuse for 5 minutes, add a fingertip of clay to the crown pieces. Done. The daily routine for the curly pixie is shorter than almost any other hairstyle for mature women.
Products are going on hair that isn't wet enough, or you're touching while it dries. Recheck: hair should be soaking wet (not just damp) when leave-in goes on. Then put it down and leave it. Every touch after application = frizz.
❌ Curls crunchy and stiff all day
You're not scrunching out the cast after drying. The gel cast should always be broken by scrunching once the hair is fully dry (not before). If the crunch doesn't break with scrunching, the hair isn't dry yet — wait longer.
❌ Curls flat at the roots, defined at ends
Apply mousse or gel at the root — not just the length. Then diffuse with the bowl pressed up toward the scalp to lift the roots away from the head during drying. Root volume on curly hair comes from root product + upward diffusing. Both are required.
❌ Curls look great wet, frizzy when dry
Your gel or mousse doesn't have enough hold for your curl type. Type 3B and above need a strong-hold gel to maintain the curl structure through drying. Move up one hold level and keep all other variables the same. Also check: are you air-drying without a diffuser? Air-drying without a diffuser on type 3+ almost always produces frizz.
❌ Product build-up making curls limp
Curly hair routines accumulate product residue faster than straight hair because curly hair is rarely shampooed with a clarifying shampoo. Do a clarifying wash once a month using a regular sulphate shampoo — just once, followed by a deep condition to replace the moisture stripped. Curls will bounce back immediately.
❌ Different curls on different days
Inconsistency almost always traces back to inconsistent product application — different amounts, different wetness level, different drying time. Curly hair rewards precision and routine. Once you find a method that works, execute it identically every time. Variables = different results every time.
This comprehensive guide aims to empower individuals with curly hair by providing detailed insights into various styling techniques. From understanding your curl type to selecting the right products, this guide covers all the essentials for achieving beautiful curls.
Curly hair can vary greatly in texture and type, which is why it's crucial to identify your specific curl pattern. This knowledge allows you to choose products that enhance your natural curls and techniques that work best for your hair type, ensuring optimal results every time.
Essential Products for Curly Hair Care
Choosing the right products is vital for maintaining healthy and vibrant curls. This section delves into must-have items, including shampoos, conditioners, and styling gels specifically formulated for curly hair.
Look for sulfate-free shampoos that cleanse without stripping moisture, and opt for rich, hydrating conditioners. Additionally, styling products like curl creams and gels can help define curls while minimizing frizz, making them essential for any curly hair routine.
Common Mistakes to Avoid with Curly Hair
Even seasoned curl enthusiasts can fall prey to common styling mistakes that hinder curl health and appearance. This section highlights frequent pitfalls and how to avoid them for the best curly hairstyles.
One common mistake is using too much heat, which can damage curls. Instead, embrace air drying or use a diffuser on a low heat setting. Additionally, over-washing curls can lead to dryness; aim to wash your hair less frequently to maintain natural oils.
Seasonal Curly Hair Care Tips
Adapting your curly hair care routine to the changing seasons can significantly impact the health and look of your curls. This section provides tailored advice for maintaining beautiful curls year-round.
In winter, focus on hydration and protection from dry air, using heavier creams and oils. During summer, prioritize UV protection and moisture retention, as sun exposure and humidity can affect curl definition and health.