Watch: RaDona's Curly Pixie Tutorials
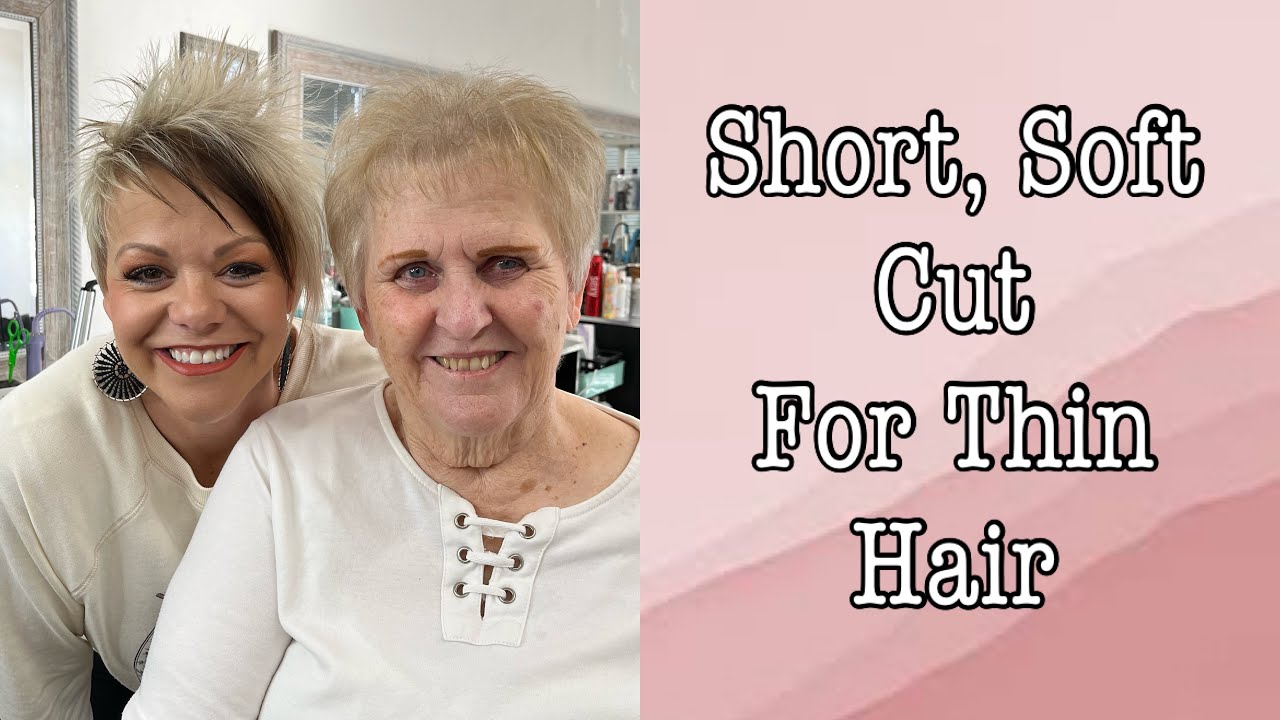
Three videos from the channel — the full curly pixie salon tutorial for women over 60, the curly and wavy hair technique tutorial, and the short haircut on a mature woman. Together they cover the full picture from the cut through the styling.
Why the Curly Pixie Is Better Than the Straight Pixie
The curly pixie is not a straight pixie applied to curly hair. It is a fundamentally different cut that exploits what natural curl does at short length — and it consistently produces a more interesting, more dimensional result than any straight version of the same cut.
Natural curl is held down by the weight of length. At pixie length, that weight is removed and the curl expresses fully — more coil, more spring, more energy than it ever had long. Women who've had "slightly wavy" long hair are often surprised to find genuine curls once the length is gone.
A straight pixie reads as a single shape. A curly pixie reads as layers of individual coils catching light from multiple angles simultaneously. In silver and grey tones — where each strand is naturally a slightly different shade — this light-catching dimension is extraordinary. The curl makes grey hair look intentional and rich rather than flat.
Wash, scrunch in mousse, diffuse 5 minutes, press a fingertip of clay into the crown pieces. Done. The curly pixie styled correctly takes less time from towel to door than any other style for mature women — and it doesn't require a repeat performance at lunchtime. The curl holds its shape because the cut supports it.
A straight pixie growing out creates an awkward in-between length. A curly pixie growing out simply produces more curl — the shape changes gradually and each stage looks intentional rather than neglected. Women who've struggled with the grow-out from straight pixies find the curly version forgiving at every length.
How the Curly Pixie Is Cut — What Your Stylist Should Do
The curly pixie cut requires a different approach from a standard pixie — and knowing what to expect helps you choose the right stylist and communicate effectively before scissors touch your hair.
- 1Cut dry — or after wash-and-diffuse, not wetThis is the most important distinction. Cutting curly hair wet shows a completely different length than the dry curl produces — because curly hair shrinks significantly as it dries. A stylist who cuts your curly hair wet will either cut too short (accounting for shrinkage incorrectly) or leave you with unexpected length once it dries. The correct approach: wash and diffuse first, then cut into the natural dry curl pattern. Ask specifically: "Will you be cutting this dry?"
- 2Curl-by-curl shaping — not section-by-sectionA skilled curly haircut follows individual curl clusters rather than pulling sections flat and cutting across them. Each curl coil has a natural growth direction; cutting through that direction rather than with it creates uneven shrinkage and frizzy ends. The curl-by-curl method — cutting each coil individually, following its natural fall — produces ends that coil cleanly rather than fray. This takes longer than a standard haircut and that's correct.
- 3Point-cut throughout — never blunt-cutBlunt scissors cuts across the end of a curl coil create a flat, frayed edge that doesn't coil cleanly. Point-cutting (angling scissors into the ends vertically) creates a tapered end that allows the curl to form a clean spiral. Every cut in a curly pixie should be point-cut. If your stylist blunt-cuts across sections, the result will look choppy and frizzy rather than defined and springy.
- 4Set the guide length at the back first — 1.5 to 3 inchesRaDona's approach (as seen in the primary tutorial video) is to establish the back guide length first — the shortest point of the cut, usually 1.5 to 2 inches for a close curly pixie or up to 3 inches for a longer curly pixie with more styling flexibility. The back is cut straight across to set this guide, then the top is left longer (around 2–3 inches above the back guide) to create the characteristic shape: close at the nape, full and springy at the crown.
- 5Clean the neckline with a razor — not scissorsThe razor creates a soft, feathered perimeter at the nape and sideburns rather than the hard blunt line scissors produce. On curly hair, a razor-finished neckline allows the curl at the perimeter to spring naturally rather than hitting a blunt wall. The finished neckline should follow the natural hairline shape — not a forced horizontal line.
- "Curly pixie — cut dry, please"
- "Point-cut throughout, no blunt cuts"
- "Leave 2–3 inches on top, shorter at the nape"
- "Follow the natural curl, don't pull it straight"
- "Razor finish on the neckline"
- + Bring a photo from this page
Curly Pixie Variations by Curl Type
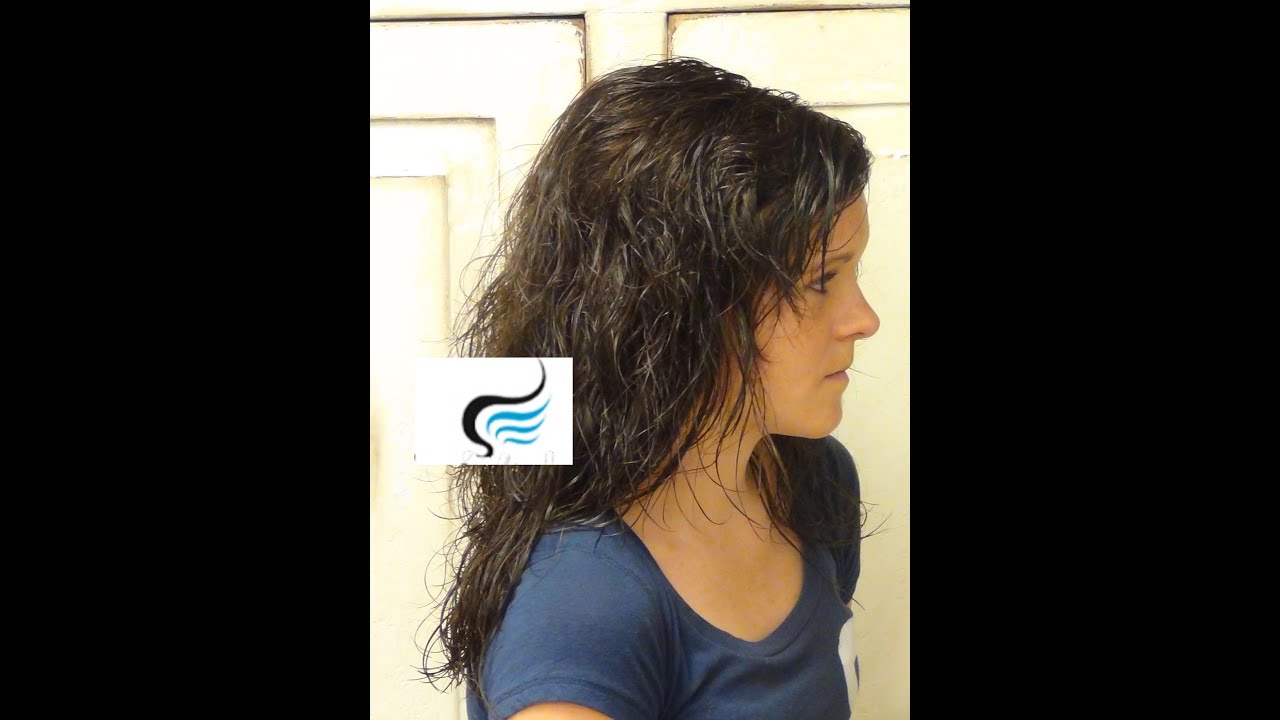
For women with a natural S-wave or strong wave pattern, the wavy pixie creates soft, flowing movement rather than tight coils. The wave sits high — starting near the root instead of pulling flat from the crown. Styled with light mousse and a diffuser, it produces a beautifully casual, tousled texture. This is often the first curly pixie for women who thought their hair was "too straight" for a textured cut.
The most commonly pictured curly pixie — defined, springy coils sitting full and round at the crown, close at the nape, with pieces at the temples and ears that soften the face frame. This is the version RaDona cuts most often in her Utah salon. At this curl type the pixie looks dramatically different wet (flat) and dry (full and springy) — which is exactly why cutting dry is essential. Product sequence: mousse on wet hair → diffuse → clay on crown pieces.
Dense, tightly-coiled curl at pixie length creates extraordinary volume and a striking rounded silhouette. Shrinkage is significant — the hair looks much shorter dry than the stylist cut it, which is why the cut-dry approach is essential here. Products need to be richer — a leave-in conditioner before the mousse ensures the coil stays defined rather than going fluffy. This variation is the most dramatic-looking of all curly pixies.

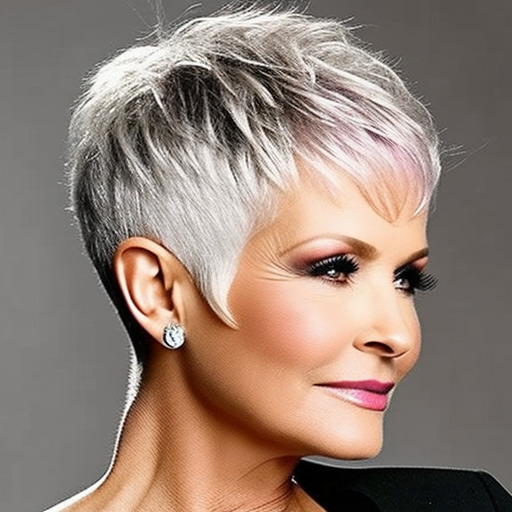
Natural grey and silver hair in a curly pixie is, for many women, the most beautiful combination in this guide. The natural tonal variation in grey — the mix of darker and lighter strands — catches light as individual curls move, creating a richness that solid-colour hair cannot produce. No heat tools needed beyond a diffuser. Purple shampoo once a week keeps the silver bright and cool. The full technique is in the primary tutorial video above.
Curly Pixie by Face Shape
| Face shape | Best curly pixie approach | Key technique | Avoid |
|---|---|---|---|
| Oval | Any variation — most versatile | Let the curl shape the frame naturally; no adjustment needed | Nothing strictly off-limits |
| Round | Height at crown, close at sides | Leave more length on top (2.5–3") to build vertical height; keep sides short and close | Full, round crown with equal volume at the sides — amplifies roundness |
| Square / strong jaw | Soft curl at the temples; avoid hard lines | Leave slightly longer, softer pieces at the temples and cheekbones; point-cut throughout for soft not sharp edges | Very close sides with hard clipper lines — draws attention to jaw width |
| Heart (wide forehead) | Side-swept fringe or longer temple pieces | Keep fringe or temple pieces longer to narrow the forehead visually; curl at the sides adds soft width below | Fully swept back — exposes the widest point of the face |
| Long / oblong | Width at the sides; minimal crown height | Let the curl build outward at the sides rather than upward; a soft fringe further shortens a long face | Tall, high crown with no side width — adds visual length |
| Diamond | Side width at the widest curl point | Let curl build at the temples; keep crown and neckline closer | Very close sides + tall crown — over-emphasises the widest point |
The 5-Minute Curly Pixie Styling Routine
This is the daily routine RaDona teaches every curly pixie client before they leave the salon. Executed consistently, it takes 5 minutes from towel to finished — every day.
| Task | Frequency |
|---|---|
| Full salon trim | Every 4–6 weeks |
| Neckline clean-up | Every 2–3 weeks |
| Purple shampoo (grey) | Once per week |
| Deep conditioner | Once per week |
| Clarifying wash | Once per month |