
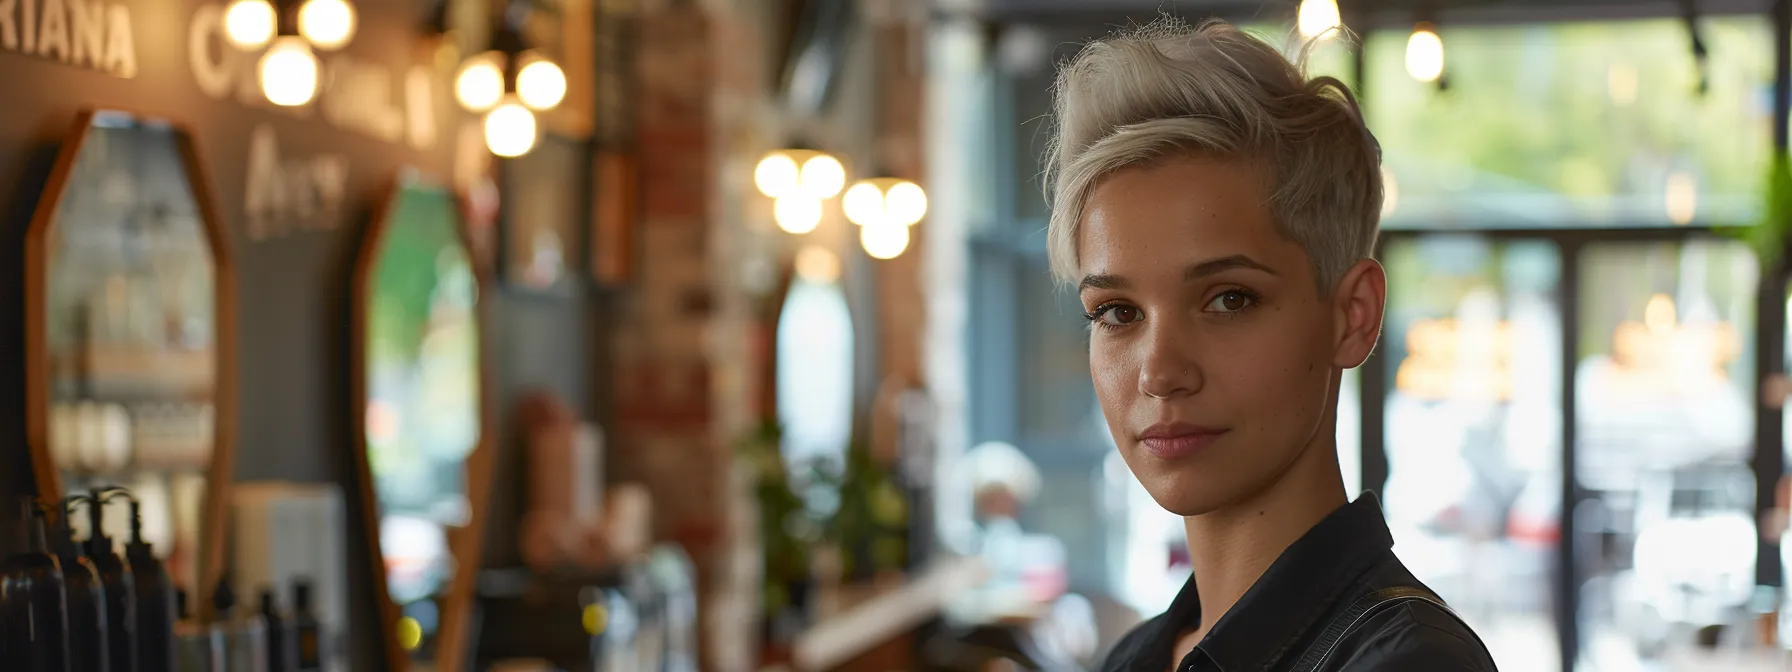
Watch: Real Pixie Transformation — Women Over 60
Before anything else, watch this. RaDona performs a complete pixie transformation on a woman over 60 in her Utah salon — from the first cut through the finished styling. This is the real result, on real mature hair, with the same techniques described throughout this guide.
Why the Pixie Works at 60 — and Beyond
The pixie at 60 is not a concession. It's a strategic choice. Here's what it actually does, as opposed to the myths that surround it.

The 5 Pixie Styles for Women Over 60
The "pixie" is not one cut. There are at least five meaningfully distinct versions, each with its own character, requirements, and flattering applications. Understanding which one you're choosing is the most important conversation to have with your stylist before scissors touch hair.
- 1The Textured Pixie — Modern Appeal, Zero EffortSoft layers throughout the top and crown, point-cut for a textured finish that moves with the hair rather than lying flat against it. The textured pixie is the most versatile option for women over 60 — it works on straight, wavy, and fine hair, and it looks intentional whether blown-dry or air-dried. The point-cut finish means it grows out gracefully, maintaining its shape for 5–6 weeks before a trim is needed. This is RaDona's most frequently recommended first pixie for women who are new to short hair.
- 2The Tiered Pixie — Volume and DimensionGraduated layers that are precisely stacked — each tier slightly shorter than the one beneath it — creating a rounded, dimensional shape with visual fullness at the crown. The tiered pixie is the answer for women whose fine hair looks flat regardless of products. The structure of the cut creates the volume that fine mature hair struggles to produce on its own. The back and sides are kept close, and the stacked crown tiers create a shape that reads as bold and intentional from every angle.
- 3The Layered Face-Framing Pixie — Graceful and SofteningLayers that specifically frame the face — slightly longer and softer at the temples and cheekbones, close-cut at the nape and sides. The face-framing layered pixie is designed to work with your features: it softens angular jawlines, balances wide foreheads, and draws attention to the eyes and cheekbones. This is the most flattering option for women with a square or strong-jawed face shape, and the most frequently requested style among RaDona's over-60 clients who want elegance without drama.
- 4The Pixie with Fringe — Customisable and Face-TransformingA pixie cut with fringe (bangs) kept at the forehead — either straight across, softly side-swept, or wispy. Fringe on a pixie completely changes the visual weight of the face, making it one of the most powerful tools for customising the cut to a specific face shape. A side-swept fringe narrows a wide forehead; a soft wispy fringe softens a strong brow; a full fringe shortens an oblong face. The one trade-off: fringe grows into the eyes faster than the rest of the cut and needs trimming every 4–6 weeks.
- 5The Curly / Wavy Pixie — Natural Texture as the StatementFor women with natural wave or curl, the short pixie is a revelation. At long length, natural curl is often pulled down by weight and made chaotic by length. At pixie length, it coils freely, sits with energy, and creates a rich visual texture — especially striking in silver and grey tones where the tonal variation catches light beautifully. The curly pixie requires no heat styling — wash, scrunch in curl cream or mousse, diffuse or air-dry. Full technique in the video above and in the Curly Pixie Haircuts guide.
Which Pixie for Your Face Shape
| Face shape | Best pixie | Key technique | Avoid |
|---|---|---|---|
| Oval | Any — textured pixie most recommended | Classic soft textured or Ellen-style forward sweep works perfectly | Nothing strictly off-limits |
| Round | Tiered or textured with height at crown | Leave 2.5–3" on top; keep sides very close; crown height elongates | Close all over — maximises roundness |
| Square / strong jaw | Face-framing layered pixie; soft textured | Point-cut throughout; soft pieces at jaw; no hard shaved lines | Skin fade with hard lines — emphasises jaw width |
| Heart (wide forehead) | Pixie with side-swept fringe | Side fringe narrows the forehead visually; longer temple pieces add softness | Hair swept fully back off forehead |
| Long / oblong | Pixie with fringe; width at temples | Full or partial fringe across forehead; build width at sides not height | Tall crown, no fringe — adds length to an already long face |
| Diamond | Long pixie with temple fullness | Leave length at the sides; avoid height at crown; soften the widest point at cheekbones | Very close sides with tall crown |
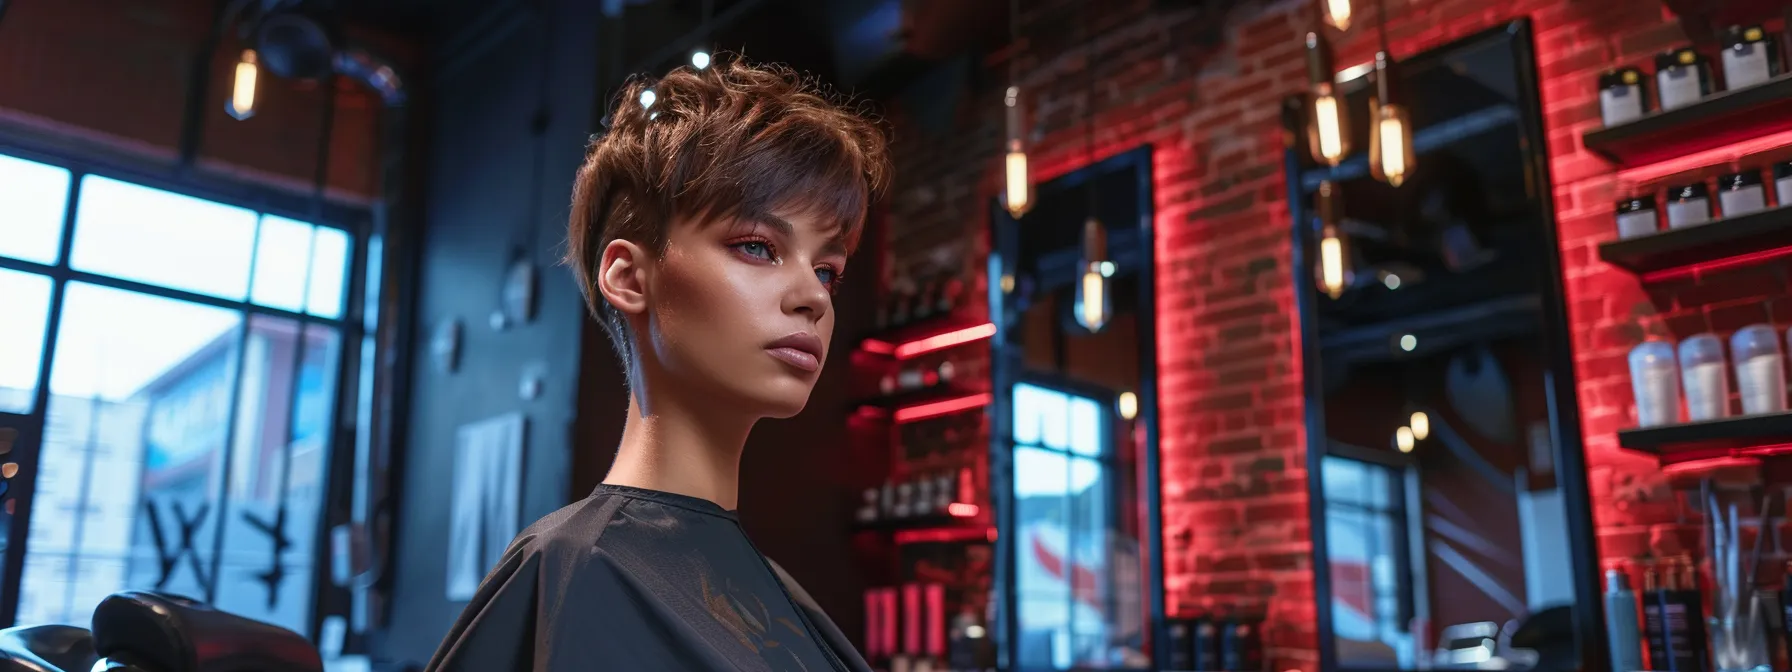
Colour Options for the Pixie Over 60
Colour and the pixie are natural partners — the short length means colour looks fresh for longer, covers less surface area (lower cost per visit), and can be used strategically to add dimension the hair's natural state doesn't provide.
- 1Embrace Natural Silver — The Boldest ChoiceNatural silver and white hair in a pixie is one of the most striking looks available. The tonal variation in natural grey — the mix of darker and lighter strands — creates dimension that no single-process colour can replicate. A weekly purple toning shampoo keeps it bright and cool rather than yellow. This requires zero colour maintenance and makes the pixie literally zero-upkeep for colour. The cut is the whole look.
- 2Grey Blending Highlights — The Low-Maintenance Middle GroundFine highlights placed specifically to blend with emerging grey rather than contrast with it. As roots grow in, the new grey merges with the highlight colour rather than creating a harsh two-tone line. On a pixie, this lasts 12–16 weeks before another colour visit is needed — much less frequent than maintaining solid colour on longer hair. A natural, sun-kissed result that gets more beautiful as it grows out.
- 3Face-Framing Highlights (Money Pieces)Lighter highlights concentrated at the front sections and temples — 2–3 shades lighter than the base. On a pixie, this draws the eye directly to the face and creates a brightening effect that makes the whole complexion look more luminous. Because it's targeted colour rather than all-over, it requires less processing time, costs less per visit, and has a grow-out that looks intentional rather than neglected.
How to Style the Pixie — Every Day in 5 Minutes
The great promise of the pixie is morning efficiency. Here is the exact routine that delivers the finished result — whether your hair is straight, wavy, fine, or curly.
- 1Apply thickening spray to damp hair — not wet, not dryTowel-dry to damp (hair still moist but not dripping). Apply a thickening or volumising spray throughout — this bonds to each strand and makes it appear wider. It's the single most impactful product step for fine mature hair. Comb through evenly. Do not skip this step if volume is your goal.
- 2Work mousse through at the roots (for the textured/tiered/curly pixie)Golf-ball sized amount of light-hold mousse, applied at the roots and worked through with fingertips. The mousse holds the shape the blow-drying creates and allows the point-cut texture to express itself. Skip mousse if your pixie is very sleek — use a light styling cream instead for smooth styles.
- 3Blow-dry tilted forward — roots first, then shapeTip your head forward and blow-dry the roots away from the scalp with a round brush or your fingers. This inverted drying creates lift at the roots that lasts all day. Then come upright and finish drying in the direction you want the hair to fall. For the curly pixie, use a diffuser attachment and scrunch as you dry — no brush.
- 4Add clay or wax to crown pieces for definitionA pea-sized amount of matte clay or light wax between fingertips, pressed into specific top pieces at the crown. This separates, defines, and amplifies the textured look. Clay creates the piece-y, slightly spiky finish that makes a pixie look deliberately styled. Wax creates a slightly smoother, softer definition. Neither should be applied all over — just the crown and any pieces you want to define.
- 5Finish with 2 drops of oil and one light pass of sprayTwo drops of lightweight finishing oil rubbed between palms and lightly pressed through — adds shine without weight. Then one pass of flexible-hold spray from 14 inches away to seal flyaways and lock the shape. Done. Total time from towel to finished: 5 minutes.
Change Your Look Without a New Cut: Parting Variations
The same pixie cut can look dramatically different depending on the parting. This is the lowest-effort way to get variety from a single cut between salon visits.
Accessorising the Pixie
Short hair doesn't mean fewer accessory options — it means the right accessory gets its full moment without competition from the hair itself. A single well-chosen piece on a pixie is worth five pieces on longer hair.
- A thin metallic headband: Placed behind the ears across the crown — frames the face and adds immediate polish to the plainest pixie. Gold and rose gold both work beautifully against silver hair.
- A pearl or crystal clip at the temple: The one-piece statement that photographs brilliantly and takes 10 seconds to place. Pearl clips against silver hair are particularly striking.
- A velvet headband (wider): The relaxed-weekend option that creates a put-together look with zero effort. Works especially well with the soft textured pixie worn casually.
- A decorative comb or pin at the side: For evening occasions — a statement comb placed at the side parting elevates the pixie to genuinely dressed-up without altering the cut itself.
Caring for Your Pixie Between Salon Visits
| Care task | Frequency | Why it matters |
|---|---|---|
| Full salon trim | Every 4–6 weeks | The pixie loses its shape faster than any other cut. At 4 weeks it's sharp and intentional; at 8 weeks it looks grown-out. 5 weeks is the sweet spot for most women. |
| Neckline clean-up | Every 2–3 weeks | The neckline is the first thing to show growth and the most visible sign of a pixie growing out. A 2-minute home trim with a small trimmer extends the salon cut significantly. |
| Fringe trim (if applicable) | Every 4–6 weeks | Fringe grows into the eyes faster than the rest — keep it tidy between salon visits with sharp scissors and a careful straight-across snip. |
| Purple toning shampoo | Once per week (grey/silver) | Neutralises yellow tones in grey and white hair. Use weekly maximum — overuse creates blue-purple tones. Keep hair bright and cool without any colour treatment. |
| Moisturising conditioner | Every wash | Short hair styled with heat tools and products needs moisture replacement at every wash. Apply to mid-lengths and ends — not the roots. Prevents the dry brittleness that makes fine mature hair look older. |
| Deep conditioning mask | Once per week | For colour-treated or frequently heat-styled pixies — a weekly mask keeps the hair strong enough to hold its cut shape cleanly and prevents the breakage that requires unplanned trims. |
Products RaDona Recommends for the Pixie at 60
What to Tell Your Stylist
The most common source of disappointment after a pixie is the conversation before the cut. Use these specific phrases to get exactly the right result.
- "Textured pixie — point-cut throughout, not blunt edges" — this signals a soft, modern finish that moves naturally rather than looking chopped.
- "Leave [X inches] on top at the crown" — be specific about the length you want. 2 inches is the standard; 2.5–3 inches gives more styling flexibility.
- "Face-framing pieces at the temple, slightly longer" — this instruction creates the softening effect around the face that makes the pixie most flattering on mature women.
- "Clean neckline following the natural hairline, not a straight line across" — natural hairlines have a curved shape; a forced straight line looks artificial and grows out badly.
- Bring a photo — the photos on this page, the salon photo from the video above, or any of the images on the Women Over 60 guide. A photo takes 10 seconds and eliminates 90% of miscommunication.