Pixie Cut Makeover Tutorial

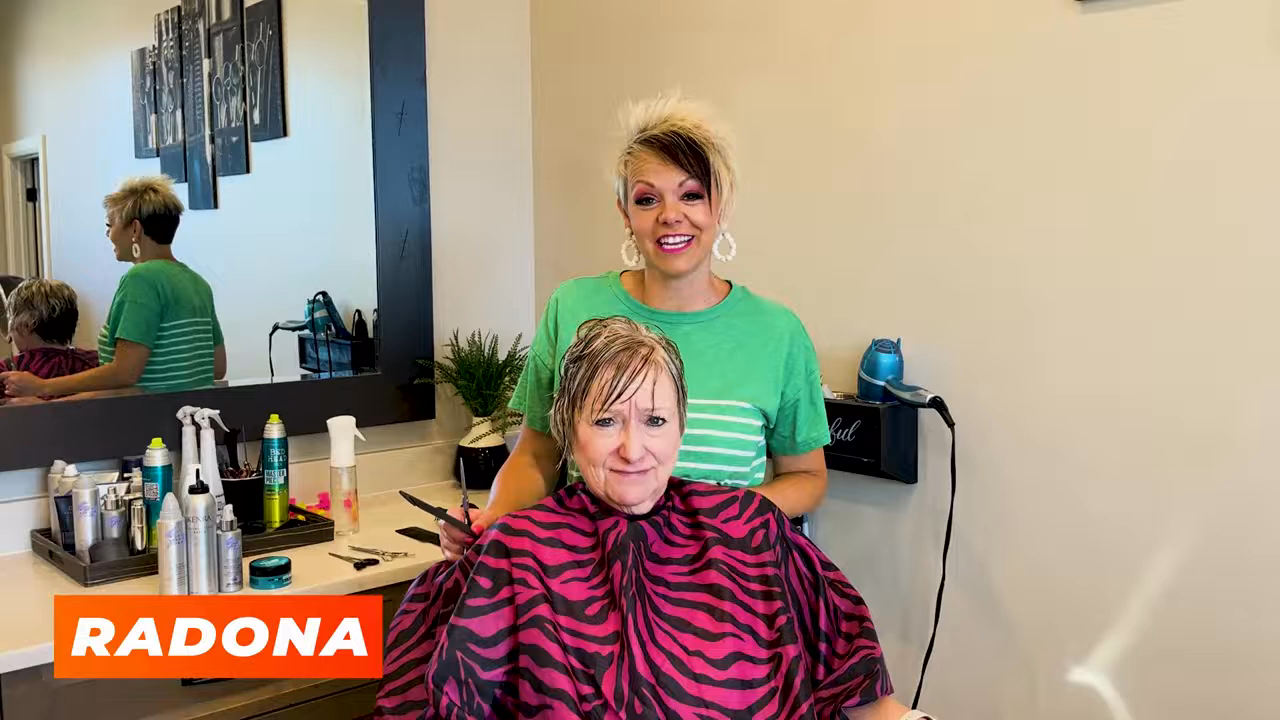
Hi everyone! Rdonna here from Boys and Girls Hairstyles, and today, I’m thrilled to introduce you to Brenda. Brenda is one of three beautiful sisters who come all the way from up north. She’s not just a client but a dear friend who’s always full of fun and positive energy.
The Journey: Growing Out an Asymmetrical Cut
Brenda is in the process of growing out her asymmetrical haircut, and our goal is to transition it into a more classic bob style. If you’re in a similar situation, you’ll find this step-by-step guide very useful.
What We’ll Do:
- Trim and texturize for volume
- Keep it tight for a cleaner grow-out phase
- And some personalized tips to avoid the “blah” stages
Let’s dive right into it!
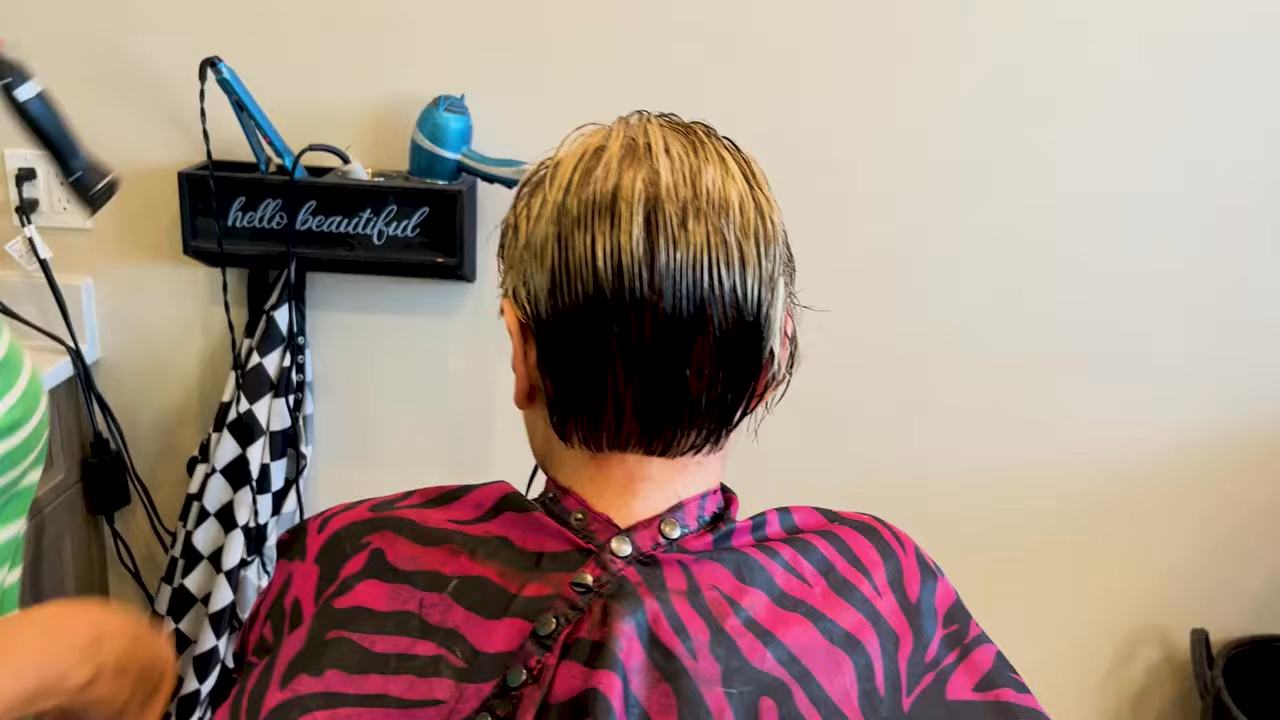
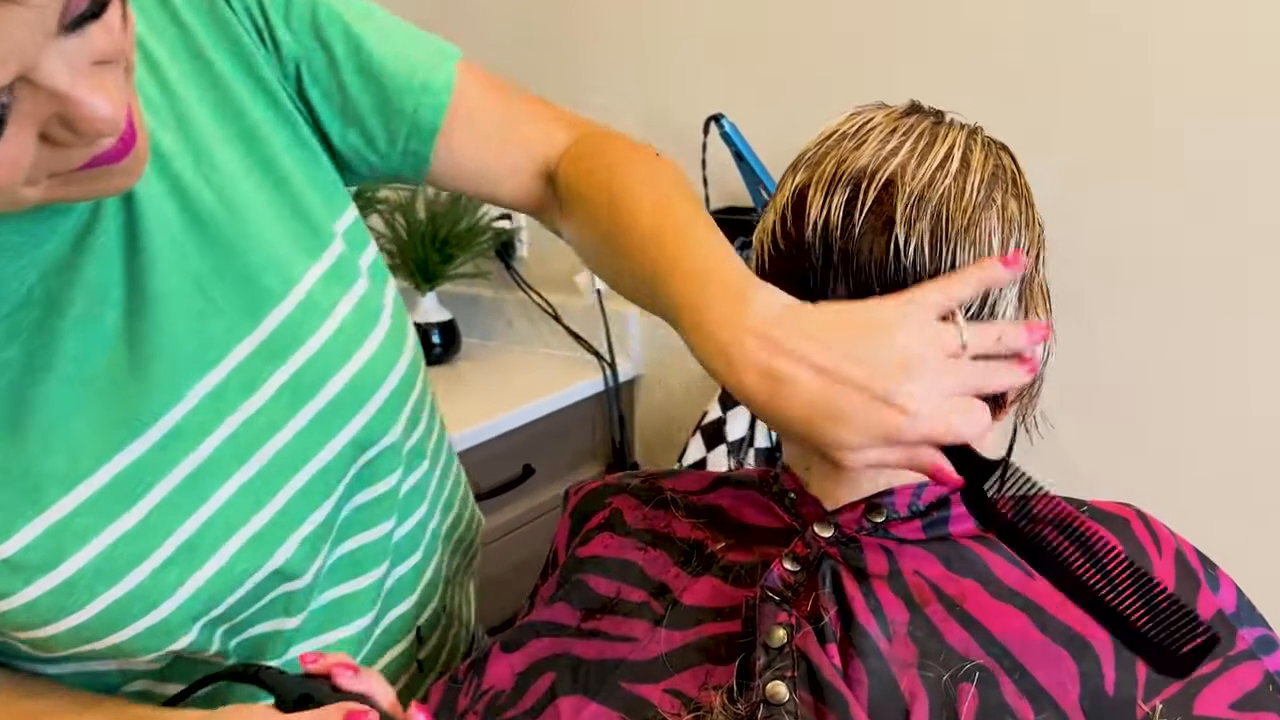
Step 1: Initial Trimming
When growing out an asymmetrical cut, the first thing you want to do is trim it up. This helps maintain shape and removes any uneven lengths.
- Cleaning Up with Clippers
- Start by cleaning up the lower sections. Using clippers, snip away at the grown-out parts. This sets the foundation for a smooth transition.
- Trimming the Top
- Move to the top where the hair is growing. Trim carefully, following the natural line of the hair but keeping the cuts tight near the bottom.
“It’s a really good idea to keep it tight as you start growing out, so you don’t go through those stages of feeling like it’s blah.”
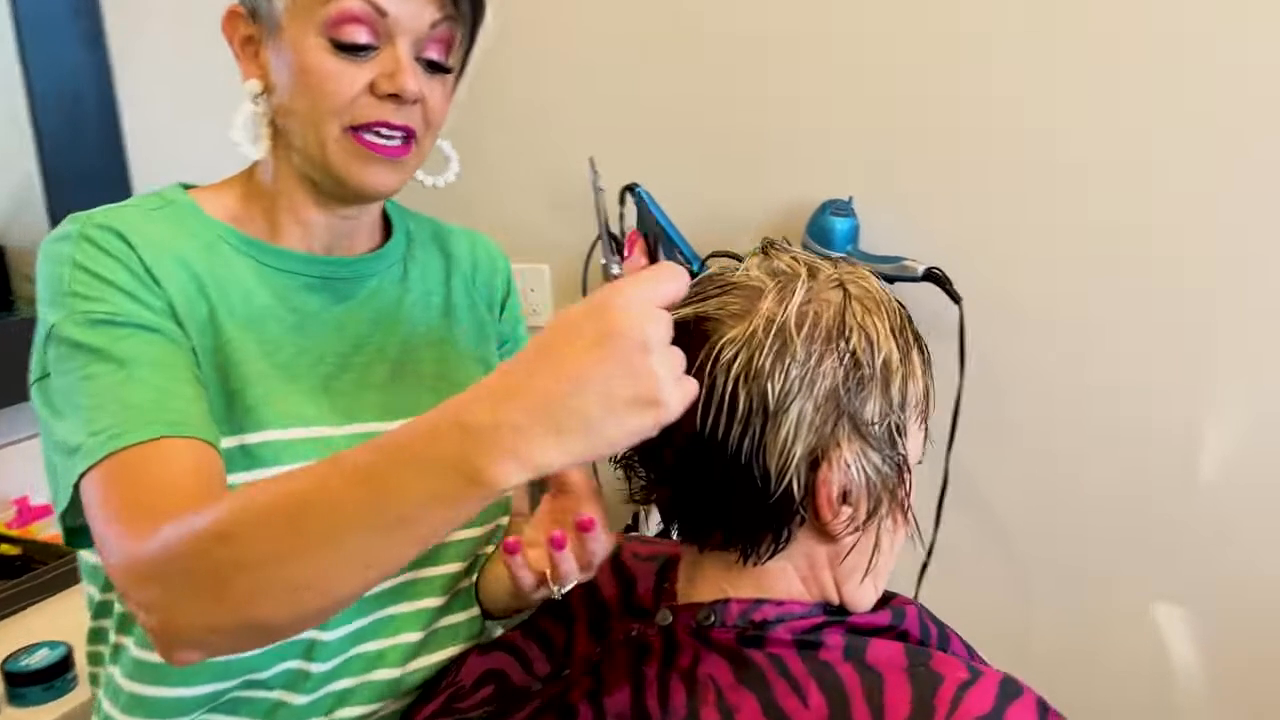
Step 2: Angling and Shaping
The technique involves angling inwards to ensure that your growing hair maintains a fresh, styled look.
- Angling In
- Trim at an inward angle rather than straight out. This helps keep the bottom section neat and the overall length looking intentional.
- Precision Cutting
- For the sides and back, use a finger length approach to ensure consistency. This means your fingers should touch the scalp as you trim.
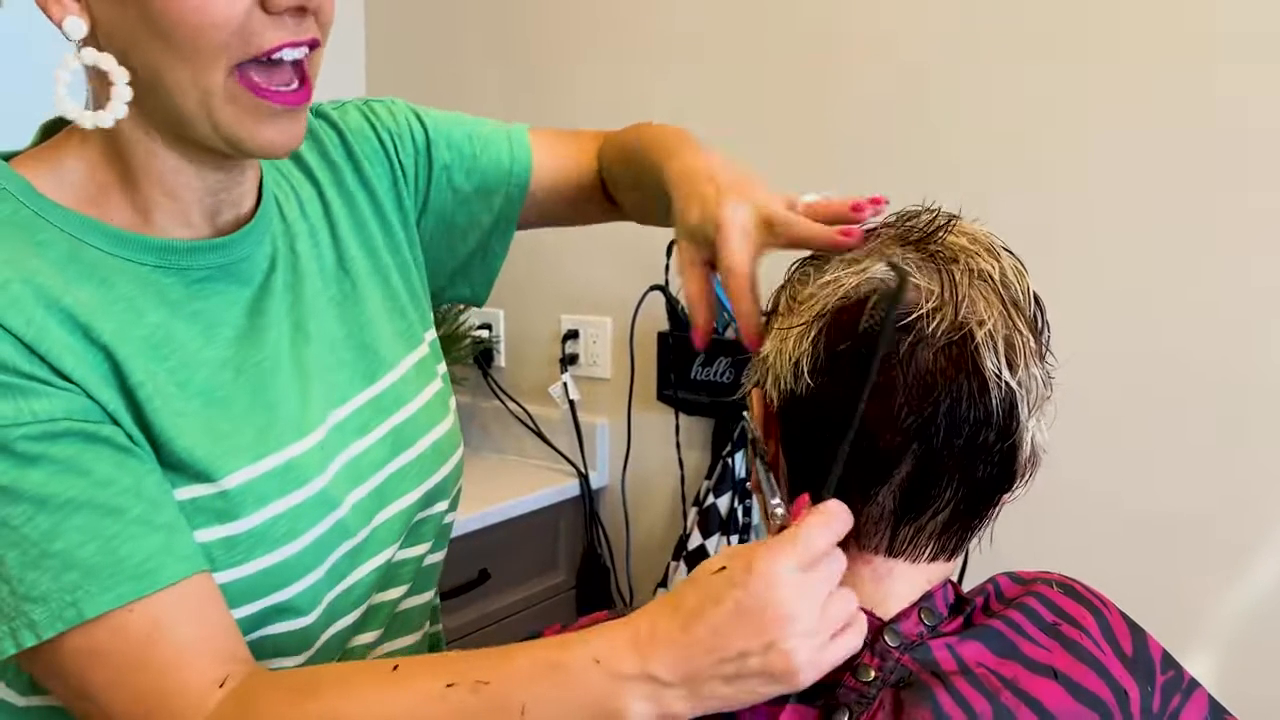
Step 3: Texturizing for Volume
As Brenda loves some volume in her hair, we’ll be texturizing it.
- Texturizing Shears
- Use fine-tooth texturizing shears for a softer, voluminous look. These shears take out small amounts of hair, adding lightness and movement.
- Focus on areas that feel heavy or bulky.
“Keeping it tight back here helps out the growing process…then you don’t feel like you have a mullet going on.”
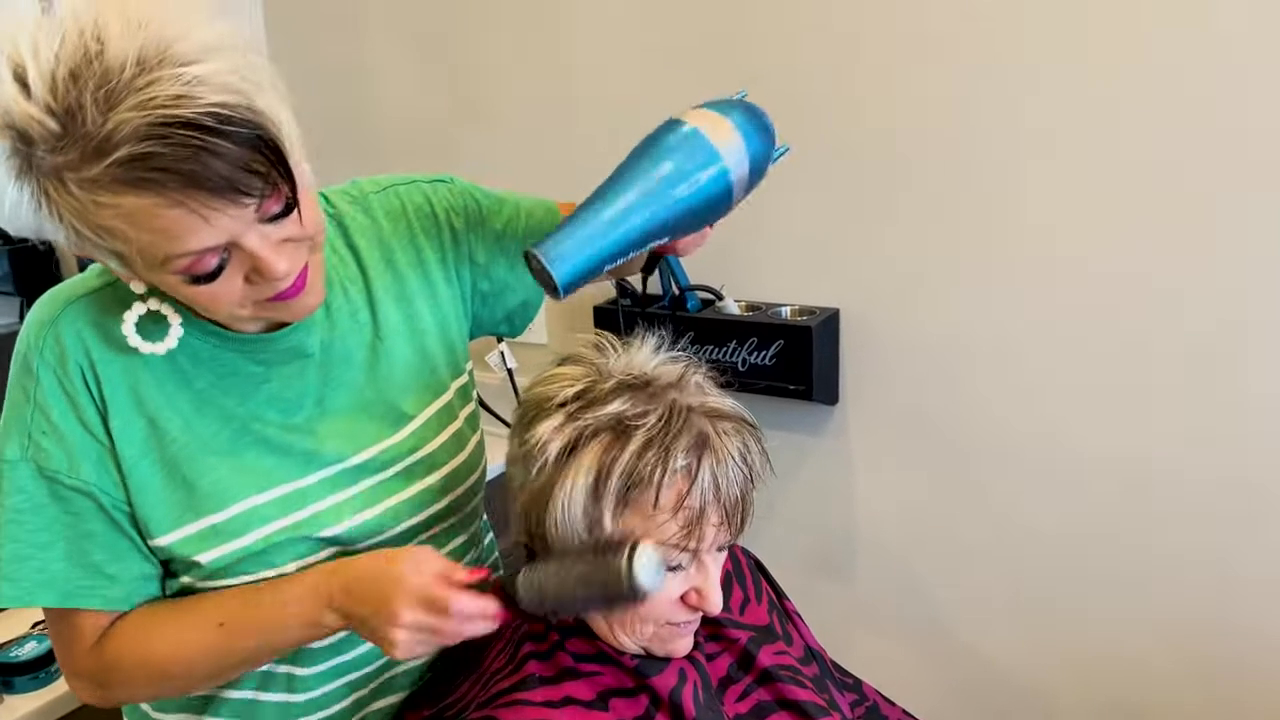
Step 4: Styling Techniques
Brenda’s hair grows out with an uplifting shape, which can make the grow-out process easier. Here are some products and tools we use:
- Kenra Volume Mousse
- Apply Kenra Volume Mousse for extra lift. This concentrated mousse gives ample volume and structure to the hair.
- Round Brushing
- Use a quality round brush like the one from Cricket Technique. Round brushing at 80% dryness ensures a smooth finish without pulling or slipping.
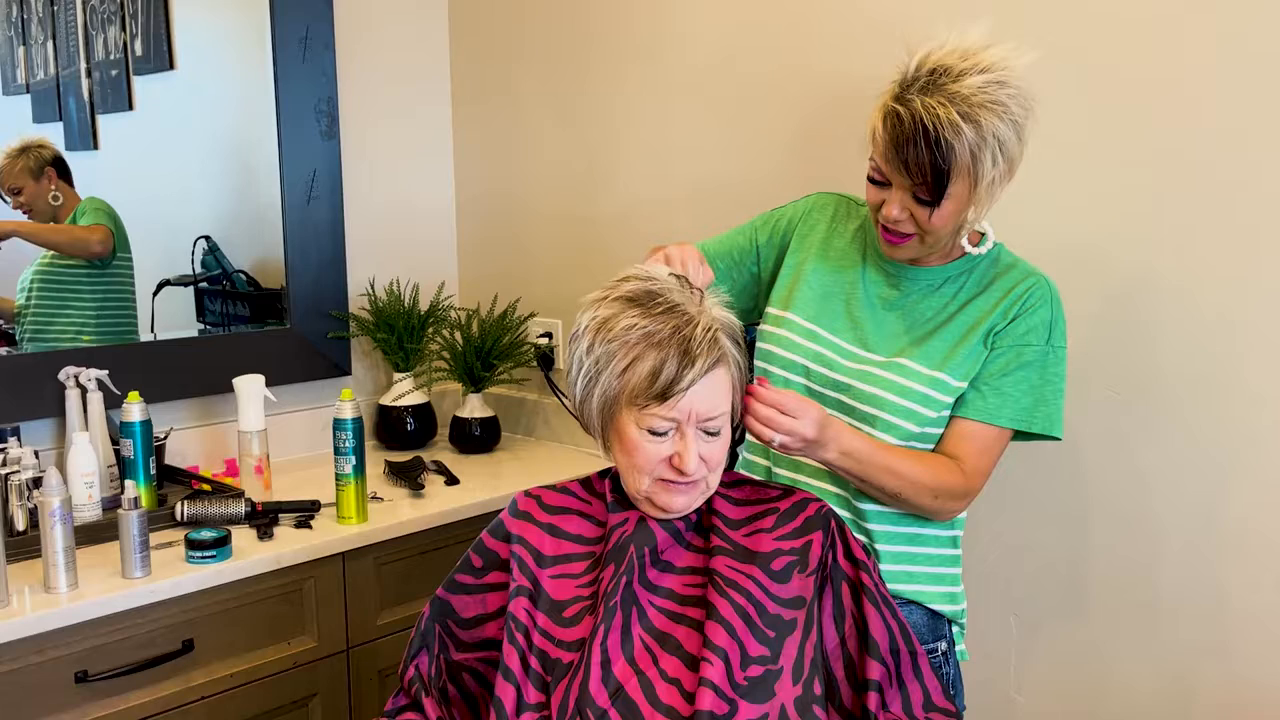
- Styling Paste
- Using a small amount of Sexy Hair styling paste, piece out the hair for a styled, put-together look. It’s effective for defining and setting the look.
Final Touches
We are nearing the end. For the finishing touches, we’ll backcomb and set the hair.
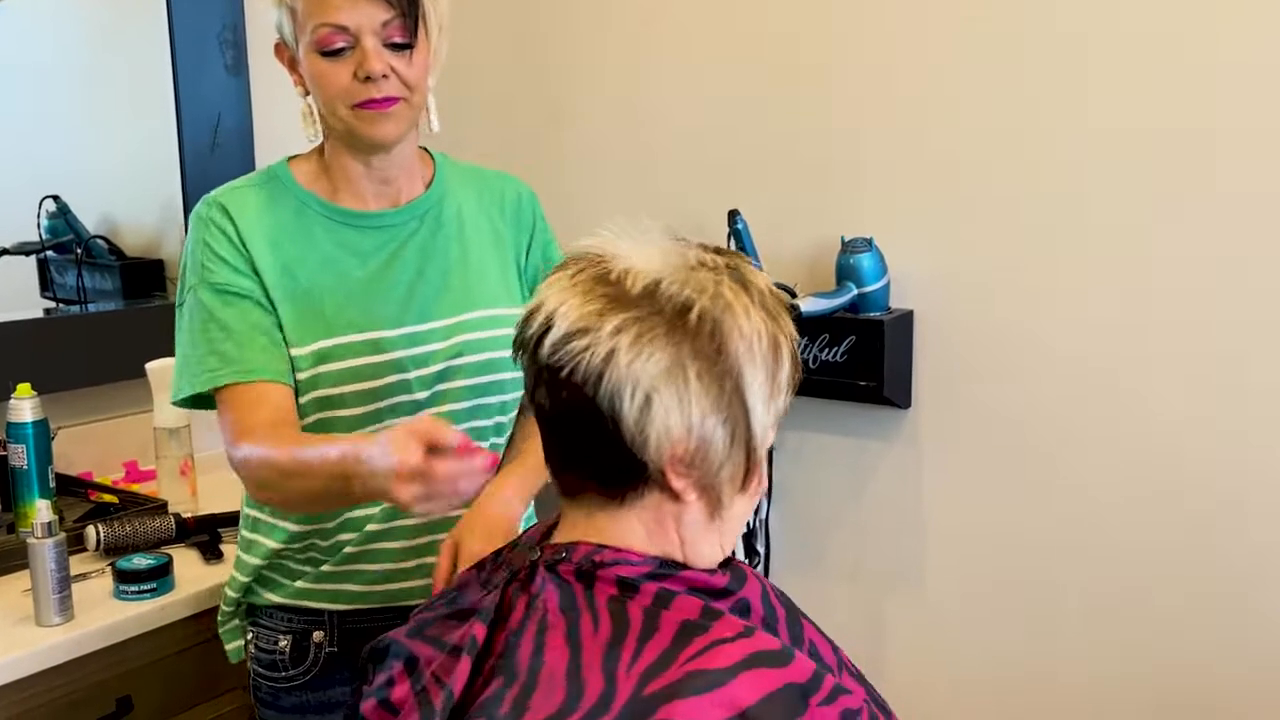
- Backcombing
- Use a pink comb with three layers of teeth. This is great for getting that perfect backcomb. Spray underneath the backcombed sections to set it in place.
- Evening It Out
- Ensure both sides are even by trimming accordingly. This will help the sides catch up with each other faster, making the bob look polished and even.
QUOTE“I can’t believe it’s been four years. Isn’t that crazy? But so fun.”
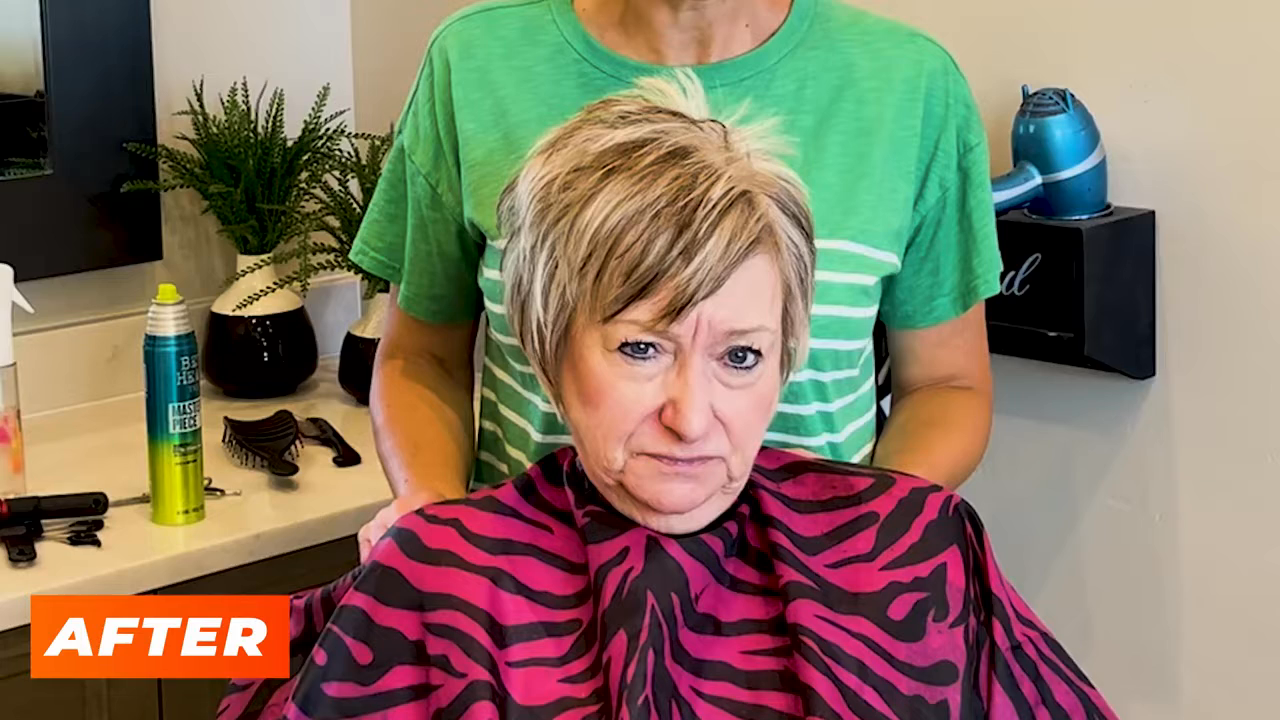
The Result
By the time we’re done, Brenda’s hair looks fantastic, full of life and volume. This approach to growing out an asymmetrical cut towards a bob leaves you feeling stylish without the awkward stages.
Join Us Again
Thanks for following along with Brenda’s pixie cut makeover. If you found this tutorial helpful, don’t forget to like, share, and subscribe. We’ll see you next time!
Take care!
Like, Share, Subscribe!
More Detailed Information:
Detailed Step-by-Step Process for a Pixie Cut Makeover
Step 1: Initial Trimming
The first step in transforming an asymmetrical cut to a classic bob is the initial trimming. This foundational step sets the stage for a smooth and elegant transition. The stylist begins by addressing the uneven lengths of the hair, which is crucial for ensuring that the grow-out phase is manageable and aesthetically pleasing.
- Clipping the Lower Sections: The stylist starts with the lower sections of the hair, using clippers to trim away any excess length. This not only removes the uneven ends but also helps in maintaining a clean and tidy base.
- Shaping the Top: Moving to the top sections, the stylist uses scissors to trim the hair while following its natural line. The goal here is to keep the top layers tight and aligned with the intended bob shape. This trimming helps in blending the layers seamlessly, ensuring that the hair grows out uniformly.
Step 2: Angling and Shaping
Achieving a polished and neat appearance requires precise angling and shaping of the hair. This step involves meticulous cutting techniques to ensure consistency and a refined look.
- Precision Cutting: The stylist cuts the hair at an inward angle, which is vital for creating a smooth transition from the shorter back to the longer front. The fingers are held close to the scalp during this process to maintain accuracy and control.
- Consistency in Length: Ensuring that both sides of the hair are cut evenly is crucial. The stylist continually checks for uniformity, making adjustments as needed to achieve a balanced and symmetrical bob.
Step 3: Texturizing for Volume
Texturizing is an essential part of the makeover, adding volume and movement to the hair. This step prevents the hair from appearing flat or heavy, especially important as the hair grows out.
- Using Texturizing Shears: The stylist employs fine-tooth texturizing shears to subtly thin out the hair. This technique focuses on the heavier or bulkier sections, lightening them to create a softer and more voluminous look.
- Creating Movement: By removing some of the bulk, the hair gains natural movement and body. This is particularly beneficial for clients with thicker hair, as it prevents the bob from looking too dense and unmanageable.
Styling Techniques
Proper styling techniques and the right products are essential to achieving the desired final look. The stylist uses a combination of volumizing mousse, round brushing, and styling paste to bring the haircut to life.
- Kenra Volume Mousse: To provide extra lift and structure, the stylist applies Kenra Volume Mousse to the roots of the hair. This product helps in giving the hair a fuller appearance, making it easier to style.
- Round Brushing: The hair is then blow-dried using a round brush. This technique ensures a smooth finish, preventing the hair from slipping or pulling during the drying process. The round brush also helps in adding volume and shape to the bob.
- Styling Paste: To define and set the hairstyle, a small amount of styling paste is applied. This product helps in achieving a polished and put-together look, ensuring that the hair stays in place throughout the day.
Final Touches
The final touches involve backcombing and trimming to perfect the overall look. These steps are crucial for ensuring that the bob looks seamless and refined.
- Backcombing for Volume: The stylist uses a three-layered teeth comb to backcomb the roots gently. This adds extra volume and lift, giving the bob a more dynamic and stylish appearance.
- Evening Out the Sides: Both sides of the hair are meticulously trimmed to ensure they are even. This step is vital for achieving a symmetrical and balanced bob, contributing to the overall polished look.
Conclusion
The pixie cut makeover tutorial provides a comprehensive guide to transforming an asymmetrical haircut into a classic bob. Each step, from initial trimming to final touches, is carefully executed to ensure a smooth and elegant transition. By following these detailed steps, anyone can achieve a stylish and manageable bob, making the grow-out phase a breeze.
For more detailed instructions and visuals, visit the full tutorial here.