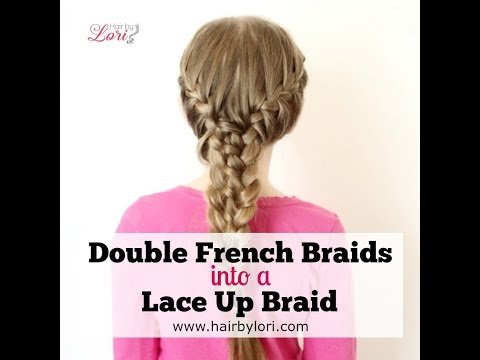
Watch: Start with a Double French Braid Foundation
The easiest way to make this updo feel doable is to think of it in two stages. First, build the braid pattern cleanly. Second, gather and wrap that braided hair into a bun. This first video helps with the braid portion.
Use the Original Post Images as Your Visual Guide


What You Need Before You Start
This look does not require a giant tool kit. A clean part, good grip, and enough pins to support the bun are what matter most.
- Brush or detangling comb
- Rat-tail comb for a clean center part
- Two small elastics for the braids
- Bobby pins to build and secure the bun
- Light hairspray or texture spray
- Optional headband or accessory if you want a sportier or event-ready finish
How to Create a Double French Braid Messy Bun
The original post explains the hairstyle clearly: start with double French braids and then wrap the finished braid work into a braided messy bun. Here is the cleanest way to think through it.
- 1Part the hair down the middleUse a rat-tail comb to make two even sections. A balanced part gives the whole style a neater finish from the start.
- 2Build the first French braidStart near the front hairline and braid back toward the nape, adding hair evenly so the braid sits close to the head.
- 3Repeat on the second sideMirror the same braid on the other side. Do not worry about perfection at first. Matching tension matters more than tiny section size.
- 4Gather the braid ends togetherOnce both sides are finished, bring the remaining hair together at the back where you want the bun to sit.
- 5Wrap into a bunTwist or fold the gathered hair into a loose bun, letting the braid pattern stay visible around the outside edge.
- 6Pin for shape, not stiffnessUse bobby pins where the bun wants to open or sag. The goal is secure but still soft-looking.
- 7Finish and adjustPull very gently on small sections if you want a fuller braid look. Then finish with light spray so the updo holds without getting crunchy.
Easy Ways to Adapt the Look
Once the braid-and-bun framework makes sense, you can shift the final feel of the style pretty easily.
How to Help the Style Last Longer
| Problem | Best fix | Why it helps |
|---|---|---|
| Braids look uneven | Recheck the center part and section size | Most imbalance starts before the braiding even begins. |
| Bun feels flat | Loosen the wrap slightly before pinning | A little space inside the bun gives it fuller shape. |
| Style slips by midday | Add texture spray and more pins at the base | The bun usually needs support where the braids feed into it. |
| Flyaways around the braids | Use light finishing spray or smoothing cream | This keeps the braid pattern visible without making it hard. |
Featured YouTube Videos from Boys And Girls Hairstyles
These videos stay closest to what this page needs: one to support the braid foundation, one to support the bun structure, and one to show a more secure high-bun variation from the same channel.
Double French Braids into Lace Up Braid: best for understanding the sectioning and braid control that give this updo its foundation.
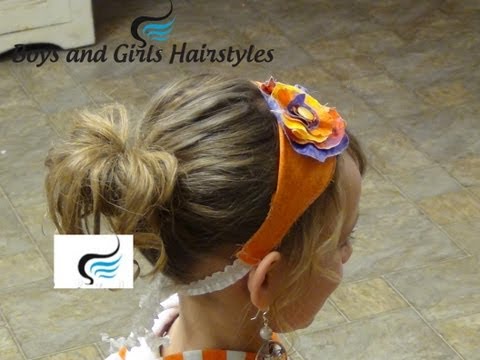
Messy Bun HAIRSTYLES | Radona: helpful for shaping the bun portion so it looks intentional instead of loose in the wrong places.
How To Style A High Messy Bun for Girl Athletes Hairstyle: a useful support video when you want a more secure bun finish that will stay in place longer.