The Finished Style — Real Salon Photos
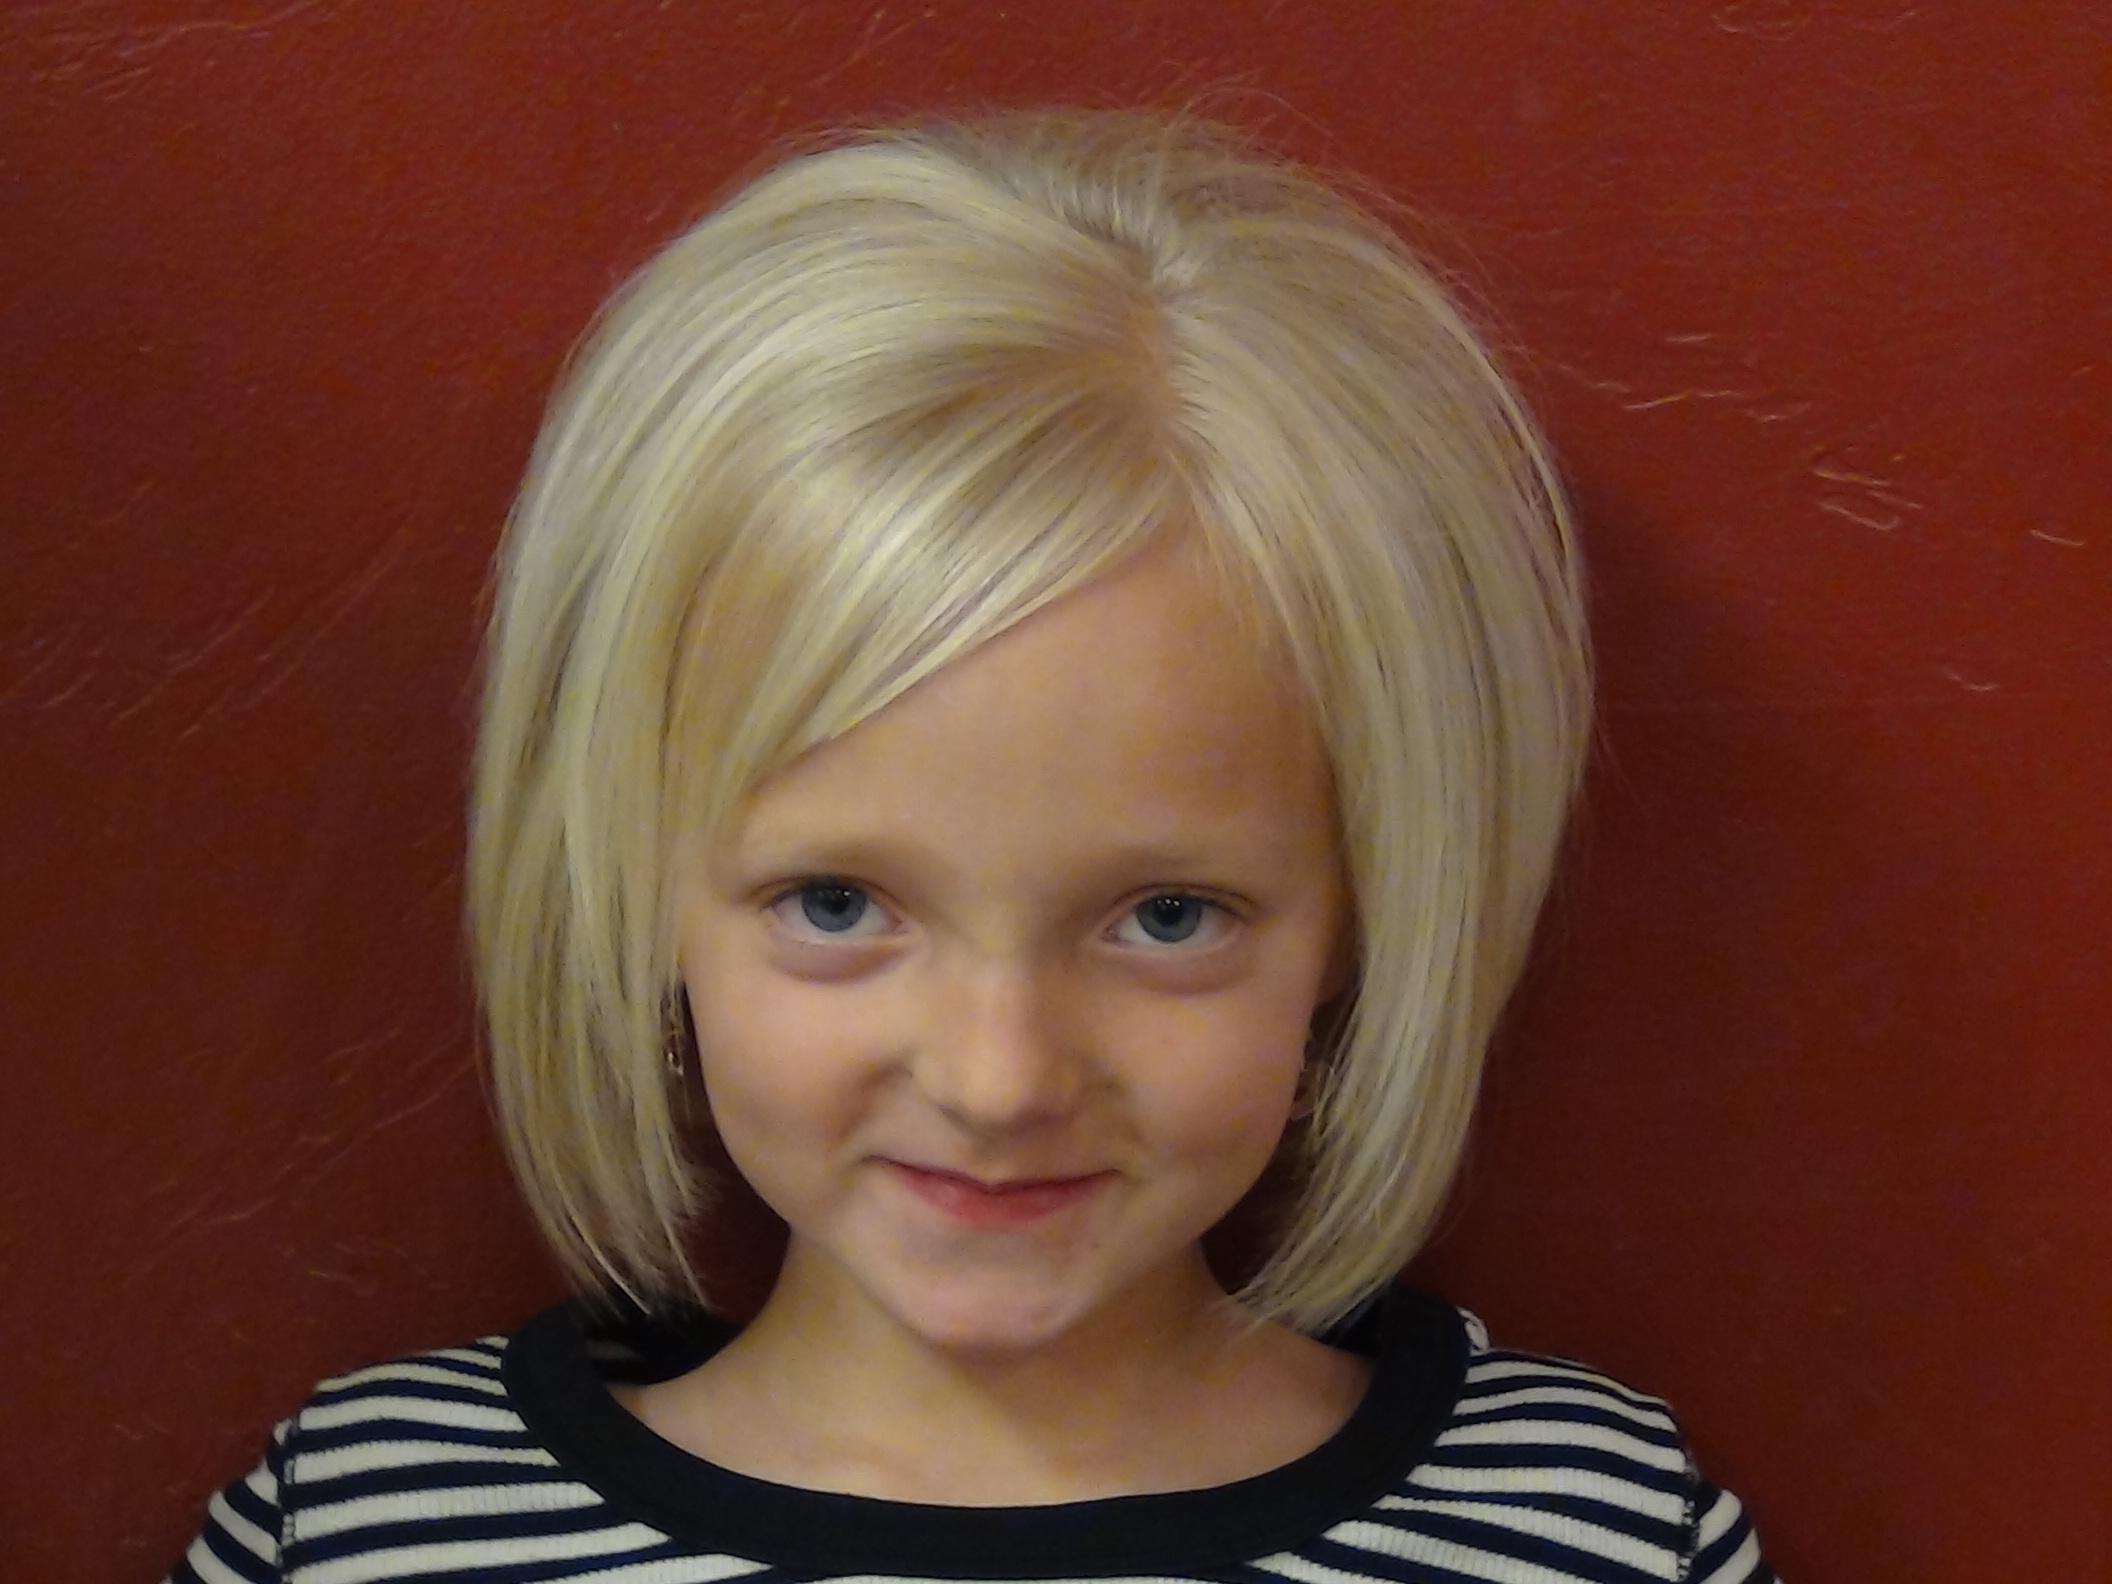
These are photos of the actual result from RaDona's Utah salon. The client was a young girl whose long hair was cut into this short, layered style — showing the volume, texture and shape the cut creates.


Watch: RaDona's Full Tutorial Videos
This page covers two videos — the transition cut (taking long hair short) and a styling tutorial showing how the finished cut can be worn with a quick 5-minute style. Watch the first before touching scissors.
What Is the Cut Short Style?
The cut short style is a layered short haircut — designed specifically for young girls — that removes the thin, stringy baby-hair ends and creates a shape with real volume and texture. The finished length sits between the chin and just below the ear, with layers throughout that make the hair look considerably fuller and healthier than it did long.
This is not a buzz cut. The hair retains enough length to style, accessorise, and wear in multiple ways. But it's short enough that the baby-hair texture that makes many young girls' long hair look flat and limp is completely gone — replaced by a cut that has shape, body, and movement all on its own.
The Two-Stage Process: What RaDona Does
RaDona approaches this as a two-part appointment — the transition cut and the finish. Understanding both stages helps parents know what to expect and helps anyone attempting this at home work through it methodically.
This is the dramatic stage — removing the length. RaDona works through the hair systematically, taking it from long to the base short length that will become the foundation of the finished style. The transition cut is done conservatively: she removes to the target length but doesn't refine or layer at this stage. The goal is establishing the shape, not perfecting it.
- →Section hair into manageable parts
- →Cut each section to the guide length
- →Work methodically — don't rush
- →Check each side for evenness as you go
With the length established, the finish cut adds the layering that creates the volume and texture seen in the photos above. RaDona uses scissors throughout — lifting sections and point-cutting to build the layered shape. The finish cut is what transforms a simple short haircut into the layered style with real character.
- →Section into top, sides, and back
- →Lift sections and cut at angle for layers
- →Point-cut ends for texture and softness
- →Dry and check — adjust as needed
Step-by-Step: How to Cut the Short Layered Style
- 1Wash, condition and detangleShampoo and condition the hair before cutting. Damp hair is essential — it shows the true length, lies flat and even, and cuts cleanly without split ends. Detangle completely with a wide-tooth comb from ends upward before picking up scissors. A leave-in detangler spray on damp hair makes this step fast and gentle even on reluctant sitters.
- 2Section and establish the guide length at the backClip the top and sides up and out of the way. Working at the back nape section, comb the hair smooth and cut the first section to your guide length — the shortest the finished style will be. This back section is your reference for everything else. For this style, the guide sits at or just below the ear lobe. Never shorter than chin length for a non-pixie cut.
- 3Work around the head — sides and front — using the back as your guideRelease sections one at a time, comb down smooth, and cut to the guide length. The front pieces can be left slightly longer than the back (a degree of A-line angle) to frame the face — or cut even all around for a classic bob base. Check both sides against each other as you go. Move slowly and cut in small increments — you can always take more, never put it back.
- 4Add layers through the top and sides — the finish cutRelease the top section. Lift a section straight up from the head (90°), hold between two fingers, and cut across — the hair above your fingers is removed. This creates a shorter layer on top that falls over the longer perimeter, creating volume and movement. Work from front to back through the top section. The amount removed determines the degree of layering — more removed means more volume, less means subtler movement.
- 5Point-cut the perimeter and through the layers for textureHold small sections at the ends and angle scissors vertically (pointing into the hair) to point-cut rather than blunt-cut. This removes the hard edge that makes short cuts look stiff, replacing it with a soft, textured finish that moves naturally and grows out cleanly. Work around the entire perimeter and through any sections that feel blunt or heavy.
- 6Dry, check and adjustBlow-dry the cut using a round brush to bring out the shape — the cut looks its true self when dry, not damp. Check that both sides are even, that the layers are blending smoothly, and that the neckline is clean. Make any final adjustments dry with scissors. The result should look like the photos above: full, shapely, and completely different from the flat long hair that went in.
The 5-Minute Style — What RaDona Does After the Cut
Once the cut is finished, RaDona demonstrates a quick styling technique that takes the freshly-cut hair from "just cut" to "completely done" in five minutes. This is the routine that parents can repeat at home every morning.
Why This Style Works So Well for Young Girls
| Hair challenge | How the cut solves it |
|---|---|
| Thin, stringy ends from baby-hair transition | Removes the oldest, thinnest hair completely — revealing denser growth underneath |
| Hair lies flat and has no volume | Layering lifts the hair away from the head and creates movement that adds perceived thickness |
| Tangles every morning before school | Short cut reduces detangling time dramatically — from 10 minutes to under 2 |
| Hard to style into anything interesting | The layered shape has character on its own; a quick blow-dry with a round brush produces a polished result in under 5 minutes |
| Accessories fall out of long straight hair | Short layered hair grips clips, bows, and headbands much more effectively than fine long hair |
| Looks the same every day regardless of effort | The layered cut responds to styling — it can look casual air-dried, polished blow-dried, or dressed-up with accessories |
What You Need at Home
- Sharp barber scissors (5–6"): Essential for clean cuts on fine hair. Dull scissors push strands and create split ends. Use proper hair scissors — not kitchen scissors.
- Fine-tooth comb + sectioning comb: For controlling sections, checking evenness, and the comb-and-cut technique through the top layers.
- Small round brush (1.5"): For the blow-dry finish — lifts roots and curls ends for the polished look shown in the photos.
- Gentle detangling spray: Applied to damp hair before cutting and before every morning brush — makes the process gentle and prevents breakage.
- Light-hold styling cream or mousse: For the 5-minute morning style — a pea-sized amount gives fine short hair the grip to hold its shape all day.
- Fun accessories — headbands, clips, bows: The finishing touch that turns a great cut into a style the girl actually loves and takes ownership of.