Rock the Playground with This Epic Hawk-Inspired Hairstyle for Kids!
Hi there! Today, I have a special guest with me—Wyatt. Wyatt is such a cutie, and he’s my daughter-in-law’s little brother. Love my daughter-in-law and her family, and Wyatt is no exception. He’s just a handsome little guy. I’m super excited to show you this fun and unique haircut we did for Wyatt!

The Plan: Fade, Blend, and Bleach
First off, we’re going for a clean cut with a twist. We decided to do a number two on the sides, leave a tail at the back, blend everything nicely, and then bleach the top. Sounds cool, right? Let’s dive into the step-by-step process.
Step 1: Sides with a Number Two
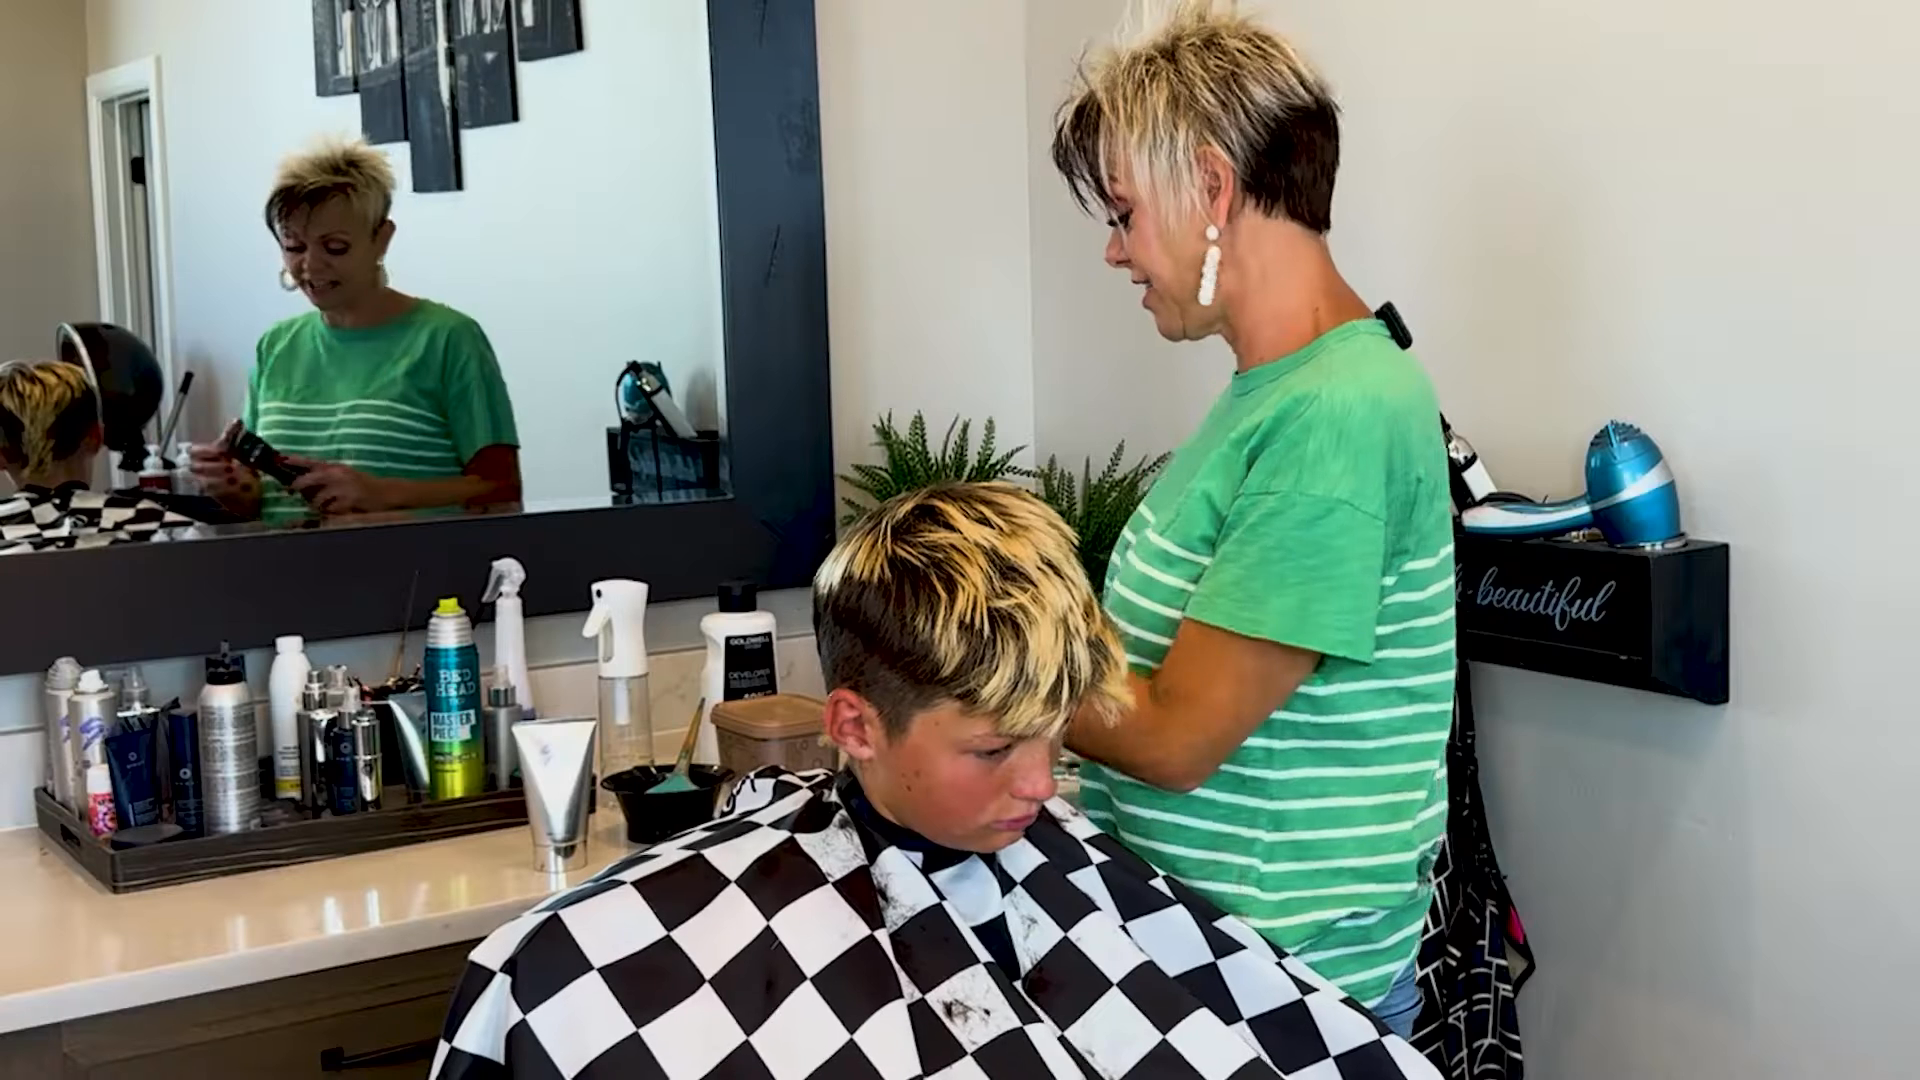
We’re starting off by trimming the sides with a number two guard on the clippers. Wyatt is super patient and always cooperative, making the whole process smooth.
Step 2: Trimming and Blending the Sides
After trimming the sides, the next step is to blend the sides to ensure a smooth transition. I love how much Wyatt cares about his hair. It’s always styled perfectly, showing his personality.
Step 3: Deciding on the Length
Alright, Wyatt wanted a bit more taken off this time because of the summer heat. So we trimmed a little extra than usual. Wyatt loves golf—he’s like a little pro, so he needed a fresh look for the greens.
Step 4: Blending the Back
Now for the back, we’re coming down vertically. It’s essential to ensure a consistent length across, so I always double-check by going horizontal. This ensures the cut is even on both sides.
Step 5: Prepping for the Bleach
With the haircut done, we’re prepping for the bleach. Wyatt has really dark hair, so we’re going to use a strong lightener. Adding oil to the bleach helps condition the hair and ensures a better process, especially since we’re aiming for a noticeable change.
Step 6: Applying the Bleach
When applying the bleach, it’s crucial to get an even application throughout. Wyatt likes to style his hair up, so I make sure to cover the roots well. It’s like painting a canvas—artistic and fun!
Step 7: Processing and Styling
Once the bleach is applied, we’ll put Wyatt under the dryer to help the bleach process faster. Then, I blow-dry it up to style and see the stunning transformation.

Step 8: The Final Style
Now that the hair is dry and styled, we use a little gel for a flexible hold. This ensures Wyatt’s hair looks amazing without feeling sticky or crunchy.
Tips for Blending and Bleaching at Home
- Blending Tips:
- If you’re new to blending, take your time. Go vertical to have more control before you get comfortable with horizontal blending.
- Darker hair is harder to blend, but practice makes perfect.
- Bleaching Tips:
- Always add oil to your bleach for added protection.
- Apply the bleach evenly, ensuring you cover all the necessary areas.
“When applying bleach, think of it as painting a canvas—each stroke matters!”
Wrapping Up
Wyatt looks great and ready to rock the playground with his new hawk-inspired hairstyle! Thanks to Wyatt for letting us transform his look. If you have any questions or want more tips, feel free to ask. Have fun with your hairstyling adventures!

If you enjoyed this tutorial, don’t hesitate to leave a comment or ask any questions. Happy hairstyling!
Additional Insights:
The “Epic Hawk Hairstyle for Kids” guide on Boys and Girls Hairstyles is a detailed and practical resource for parents looking to give their children a trendy and fun haircut. The article breaks down the process into manageable steps, ensuring even those new to hairstyling can achieve professional-looking results.
Overview of the Epic Hawk Hairstyle
The Epic Hawk is a kid-friendly version of the popular mohawk hairstyle. It’s designed to be both stylish and manageable, making it suitable for active children. The style typically involves shorter sides and a longer strip of hair in the center, which can be spiked or styled in various ways. This particular guide adds a modern twist by incorporating a fade, blend, and even a bleaching technique for those looking to add an extra pop of style.
Tools and Preparation
Before starting, gather the necessary tools:
- Clippers with different guard sizes (number two guard is recommended)
- Scissors
- Comb
- Bleaching kit (if opting for the bleach effect)
- Hair gel or styling product
Having these tools ready ensures a smooth and uninterrupted haircutting session.
Step-by-Step Guide
- Initial Cut with Clippers: Begin by using the clippers with the number two guard to trim the sides of the head. This initial cut sets the foundation for the fade and blend. It’s essential to maintain a steady hand and even pressure to ensure a uniform cut.
- Blending the Hair: Blending is a crucial step that smooths the transition between the shorter sides and the longer strip of hair on top. Use a blending comb and scissors to trim the hair, gradually increasing the length as you move up the sides. This creates a seamless look and avoids any harsh lines.
- Trimming the Top: The length of the hair on top can be adjusted based on personal preference and the child’s lifestyle. For a more manageable style, a shorter length is ideal, especially for the summer months. Use scissors to trim the top, making sure it’s even and suits the child’s face shape.
- Adding the Bleach: If you choose to add bleach, follow the instructions on the bleaching kit carefully. Apply the bleach to the desired areas, usually the tips of the hair on top, to create a striking contrast. Ensure you protect the child’s scalp and eyes during this process. It’s recommended to perform a patch test beforehand to check for any allergic reactions.
- Final Touches: After washing out the bleach, dry the hair thoroughly. Use a styling product to spike the hair or create the desired hawk effect. A gel or mousse that offers flexible hold is ideal, as it allows for restyling throughout the day.
Tips for Success
- Practice Makes Perfect: If you’re new to cutting hair, practice on a mannequin head or ask for help from someone more experienced.
- Patience is Key: Take your time, especially during the blending process, to ensure a smooth and professional finish.
- Safety First: When using bleaching products, follow all safety guidelines to protect your child’s skin and hair.
Styling and Maintenance
The Epic Hawk hairstyle is versatile and can be styled in various ways. Here are some styling tips:
- Spiked Look: Use a strong-hold gel to spike the hair upwards for a classic hawk appearance.
- Casual Style: For a more relaxed look, use a light mousse to add texture without making the hair too stiff.
- Maintenance: Regular trims are essential to keep the sides short and the top at the desired length. A touch-up every few weeks helps maintain the overall shape and style.
Advantages of the Epic Hawk Hairstyle
- Trendy and Fun: The Epic Hawk is a stylish choice that can make children feel confident and cool.
- Easy to Maintain: With regular trims and the right products, maintaining this hairstyle is straightforward.
- Versatile: The style can be adapted to suit different occasions, from casual outings to more formal events.
- Personal Expression: Adding elements like bleach allows for personalization and creative expression.
Conclusion
The “Epic Hawk Hairstyle for Kids” is a fantastic option for parents looking to give their children a fun and modern haircut. The detailed guide provided by Boys and Girls Hairstyles makes it accessible for even beginners to achieve a professional-looking style. With the right tools, a bit of patience, and some practice, parents can create a unique and stylish look that their kids will love.