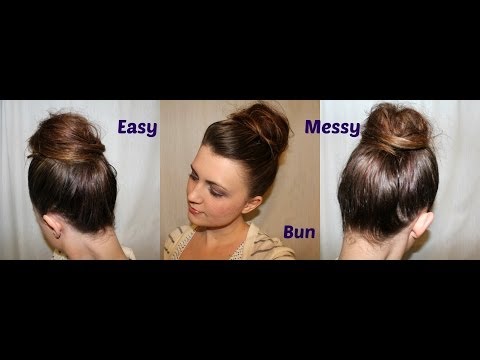
Watch: Start With a Messy Bun Technique Video
Your original page tells readers to check the video, so this refreshed version makes that much easier by placing a direct channel video near the top. That gives readers immediate technique support before they try to copy the updo from the photos alone.
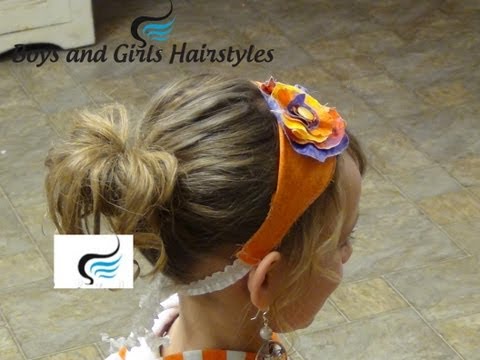
Original Post Images to Build Around


What You Need Before You Start
This is not a complicated product-heavy hairstyle, but it does go better when you have the right tools ready from the start. The most important goal is to build shape without losing softness.
- Rat-tail comb for clean sections and gentle teasing
- Bobby pins in a color close to the hair
- One or two small elastics for anchors if needed
- Light or medium-hold hairspray
- Texture spray or dry shampoo if the hair is very silky
- A flower clip or dressy accessory for the final finish
How to Create the Triple Side Messy Bun Up Do
The original post focuses on a deep side part, puffs for volume, and then pinned bun sections. This rewrite keeps that same direction, but turns it into a clearer walk-through that is easier to follow while you style.
- 1Start with dry hair that has a little gripBrush through the hair, smooth tangles, and add dry shampoo or texture spray if the hair is soft and slippery. This helps the pins hold better later.
- 2Create a deep side partThe deep part is one of the details that gives this hairstyle its elegant profile. Keep the front smooth and sweeping instead of centered or flat.
- 3Build gentle crown volumeUse the tail of the comb to lift a little height into the hair near the top and along the part line. This should feel soft and polished, not big or stiff.
- 4Gather the hair toward one sideGuide the hair low and toward the fuller side of the head so the bun can sit off-center. Pin lightly as you shape the direction.
- 5Form the first bun sectionTake a section of hair, fold or loop it, and pin it so it creates the main base of the updo. Keep the loops visible instead of wrapping everything tightly into one ball.
- 6Add the second and third soft sectionsLayer more looped pieces around the first section so the bun looks full and dimensional. Think of it as building petals or folds, not making one standard bun.
- 7Refine the shape from the side and backStep back and check the side view first, because that is where this style makes its strongest impression. Adjust loose sections until the silhouette looks balanced.
- 8Finish with spray and an accessoryAdd light spray, tuck any flyaways, and place the flower or accessory where it complements the shape instead of covering all the texture.
What Makes This Updo Look Better Than a Basic Bun
How to Help the Style Last All Day
| Problem | Best fix | Why it helps |
|---|---|---|
| Hair too slippery | Add texture spray first | This gives the pins something to grip so the bun does not sag quickly. |
| Bun looks flat | Pull loops wider before pinning | Wider folds make the style look fuller and more formal. |
| Front gets puffy in the wrong way | Smooth the surface lightly after teasing | You keep the lift underneath without making the top look messy. |
| Pins show too much | Slide them into the fold direction | Hiding pins inside the loops keeps the hairstyle looking softer and more finished. |
| Accessory feels random | Place it near the bun seam | That helps the clip look intentional and also covers the anchor point beautifully. |
Featured Videos From Boys And Girls Hairstyles
These videos stay within your own channel and support the same kind of soft bun and updo technique this page needs. Each one is included with both an embed and a direct watch button, which helps if your WordPress install blocks an embed on some devices.
Messy Bun Hairstyles | Radona: best main support for building soft bun texture.
▶ Watch DirectMessy Bun Hairstyle That Looks Intentional, Not Messy: useful for controlling softness so the bun looks styled, not accidental.
▶ Watch DirectCute Easy Messy Bun Hairstyle Tutorial for Medium to Long Hair: helpful for loop placement and fuller bun shaping.
▶ Watch Direct