
Set the Roots
Decide where the crown, fringe and sides should move before the hair is fully dry.
Use: fingers or small round brush
Avoid: letting stubborn growth patterns dry first
A good Bixie should not require a complicated morning routine. The haircut already gives you shorter internal layers for movement and Bob-like perimeter for softness. Your styling job is simple: set the roots, shape the crown, place the fringe, then stop before product weighs it down.

Short hair is easiest when the roots are directed correctly first. Product should support the finished shape, not rescue a flat crown after the fact.
Decide where the crown, fringe and sides should move before the hair is fully dry.
Raise the crown enough to show the shorter internal layers without turning the Bixie into a spiky Pixie.
Separate a few pieces rather than coating the entire haircut. This is especially important for fine hair.
The routine should take about five to ten minutes once you know where your own crown, fringe and natural growth patterns want to go.
Work a small amount of lightweight mousse or root-lift product through damp hair. Concentrate on the roots and areas that need support rather than coating the ends.
Use fingers or a small round brush to lift the crown. Redirect cowlicks or flat growth patterns while they are still damp enough to change direction.
Decide whether the sides will tuck behind the ears, fall toward the cheek, or stay loose. Keep the longer exterior pieces soft instead of over-rounding them.
Warm a tiny amount of lightweight paste or cream between your hands, then touch only the pieces you want to separate. Do not drag heavy product through the whole haircut.
The Bixie should still read as a hybrid: lift through the internal layers, but enough lower perimeter to keep the soft Bob-like silhouette.
Light hairspray can support fringe or crown movement. If the hair already holds, leave it alone. More product is not automatically better styling.
The first video is the current exact Bixie. The two Pixie videos are labeled as adjacent technique because root lift, fringe placement and lightweight finishing transfer directly to Bixie styling.

Use this current real-client Bixie to judge how much crown lift and perimeter softness you want in your own finish.
Watch the Bixie
This Pixie video is useful when your Bixie has longer fringe. Borrow the blowout and placement technique without copying the shorter Pixie perimeter.
Watch the fringe technique
Use this fine-hair Pixie styling example for the technique: create support and separation without turning the finish heavy or greasy.
Watch the texture techniqueStyling works best when you understand the haircut underneath it. A Bixie keeps Bob-like outer length while shorter internal layers create movement. Your routine should enhance that contrast—not flatten everything into a Bob or spike everything into a Pixie.
You do not need a new haircut for every mood. Change the root direction, fringe and amount of separation while keeping the underlying silhouette intact.
Use gentle root lift and smooth the longer perimeter. Keep the ends soft rather than curling every section under.
Use fingers for the dry, lift the crown in different directions, then separate a few pieces with a tiny amount of product.
Tuck one or both sides behind the ear and sweep the fringe across. This emphasizes the Bixie's longer perimeter and keeps the face open.
Fine hair often responds better to directional drying and lightweight prep than to a large amount of paste after the hair is dry. Create support first; finish second.
Short hair often needs a reset rather than a complete wash-and-style. Fix the crown, fringe or one side—the areas that actually changed overnight.
Mist or dampen only the flattened section. Water helps reset root direction better than piling dry product onto yesterday's shape.
Quickly blow-dry the crown or fringe back into place with fingers or a small brush. Stop when the root direction is restored.
Use what is left on your hands or the smallest additional amount of product. Day-two hair rarely needs a full second application.
You do not need a shelf full of styling products. Choose the lightest product that performs the job your hair actually needs.
Add support before drying. Fine hair usually benefits from lightweight formulas rather than heavy creams at the root.
Use a very small amount on selected ends or fringe pieces. The product should create separation without making the haircut collapse.
Use only where movement needs support. A Bixie should still move when you turn your head.
The styling tutorial is a support breakout—not another Bixie haircut gallery. Use the neighboring pages when your question changes.
Use this when you are still deciding which Bixie silhouette works for your density.
Bixie for Fine HairUse this when you are deciding how short to go and how much exterior perimeter to keep.
Pixie vs BixieUse the tutorial hub for RaDona's broader cutting and styling education library.
Hair Tutorials & DIY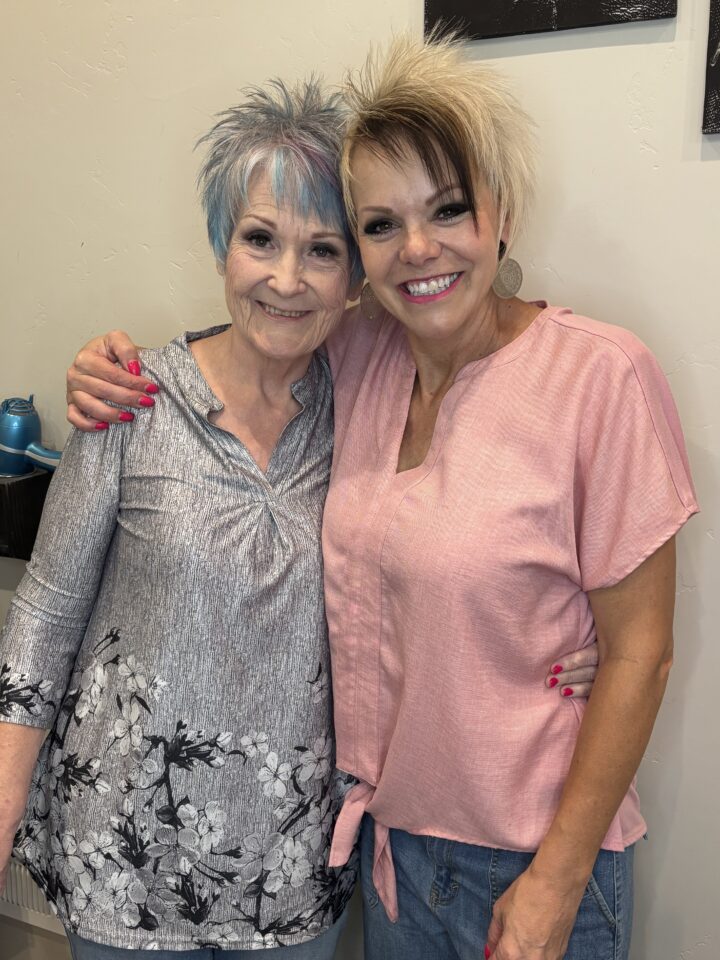
RaDona Ludlow is a licensed cosmetologist and Utah salon owner who has worked behind the chair since 2000. Her short-hair tutorials are useful because the styling is connected to the haircut structure underneath it—not treated as a separate trick.
That is especially important with a Bixie. The crown layers, longer perimeter and fringe were created for a reason. Good styling should reveal those decisions rather than fight them.
Keep the routine light, directional and connected to your haircut's actual structure.
Prep lightly, set the roots while damp, lift the crown, place the longer perimeter, then use a tiny amount of finishing product.
Create it while drying. Lift roots with fingers or a small round brush instead of trying to fix a flat crown with heavy paste afterward.
Use lightweight products and less finish. Fine, low-density hair generally needs less product than fine, dense hair.
Yes, especially with natural wave. Scrunch lightly, place the fringe and sides, and let the shorter internal layers create movement.
Re-wet only the flattened areas, reset the roots for a minute or two, then add almost no additional product.
Styling cannot fix the wrong silhouette. Compare the Bixie with Bob and Pixie before changing the cut.
Set the roots while damp, create lift where the Bixie's shorter layers live, keep the Bob-like perimeter soft, and use less finishing product than you think you need.